Adobe Photoshop doesn’t have an “add bleed” feature when creating a new document like most other editing programs have. However, there are ways to add your own bleeds using the tools already available in Adobe Photoshop. I’ll guide you step by step on 2 methods you can use. The first is using rulers and guides, and the second is using the Marquee selection tool with automation through actions.
Method 1: Using rulers and guides
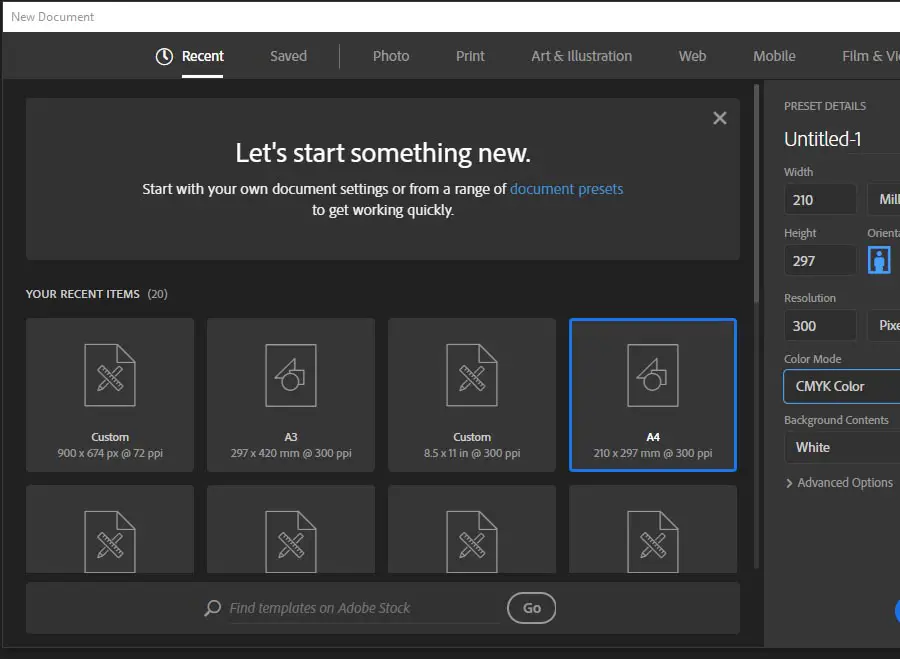
- Create a new document and input the width and height you want your final cut document to be. So if you want an A4 poster, it will be W=21cm and H=29.7cm. We will add the bleed dimensions manually later. Make sure you set your color mode to CMYK and resolution to 300 Pixels/Inch since the document is meant for print.
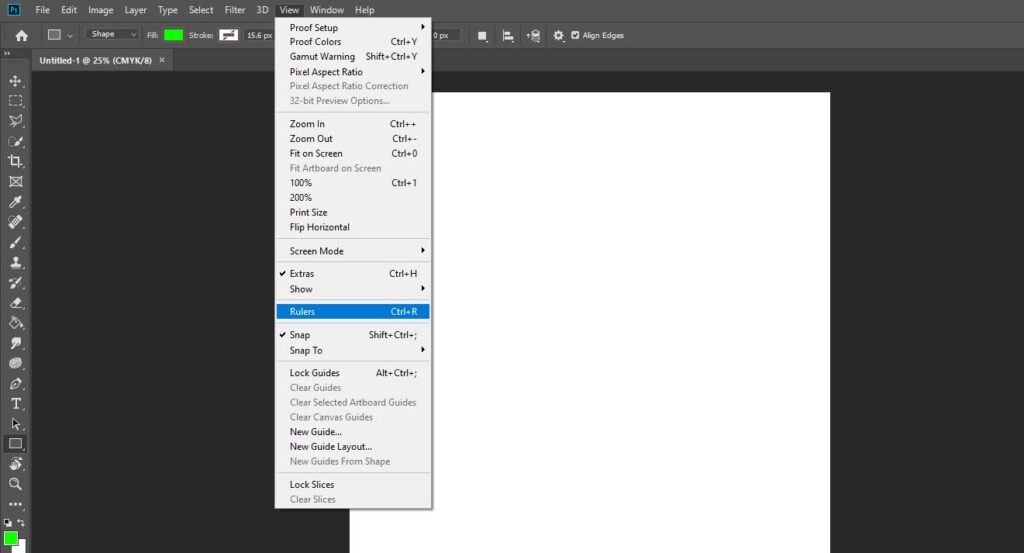
- If your rulers aren’t already visible on the document window, go to the “View” tab at the top and select “Rulers”. This will make rulers visible.
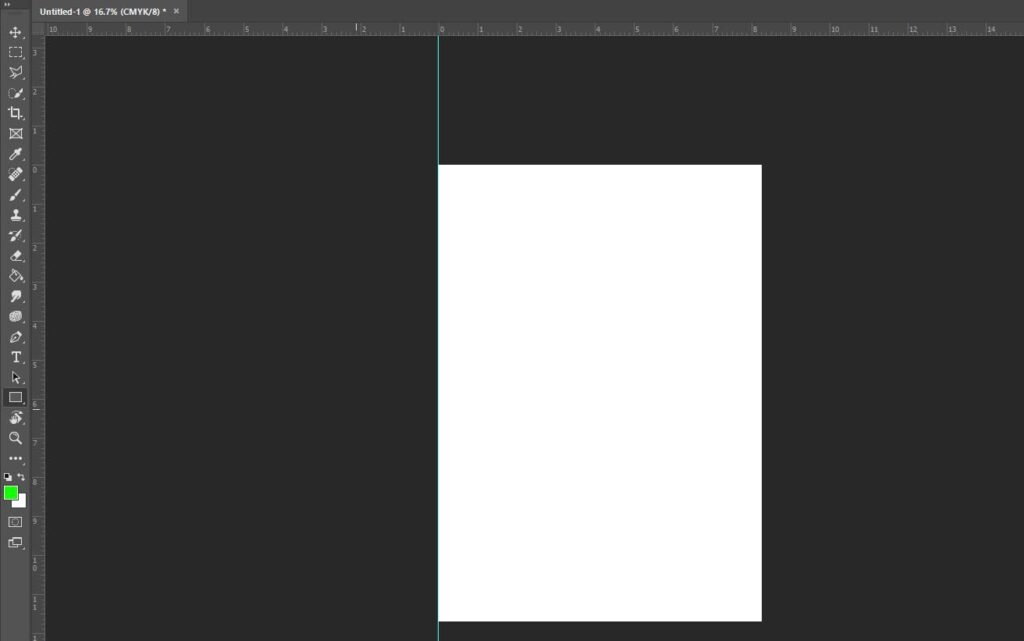
- Using your mouse or digital pen, click on the left ruler and drag the guide to the left edge of your document and release. It should snap and allign to that edge.
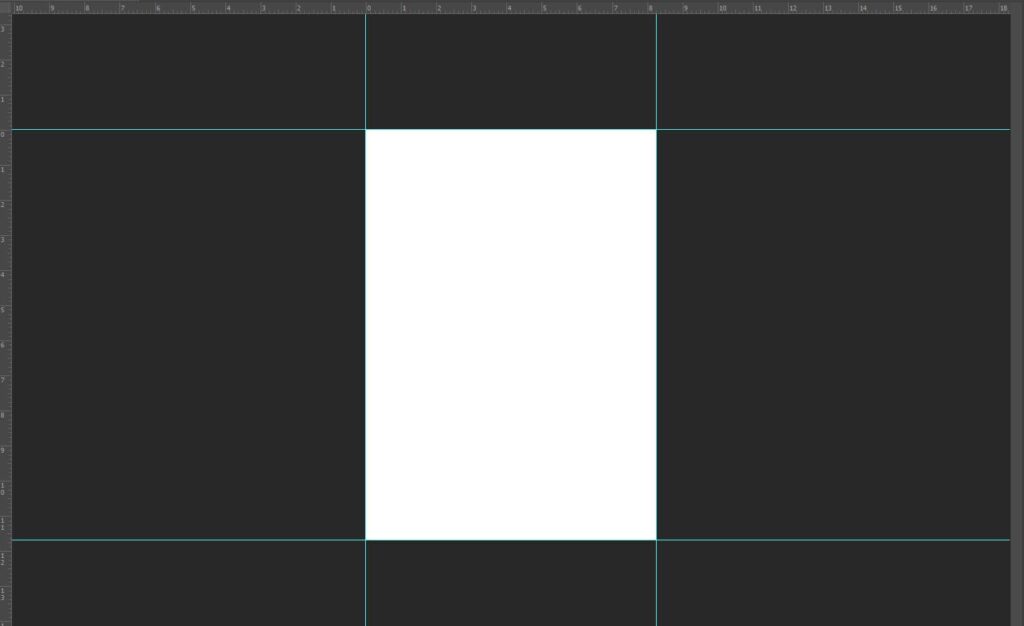
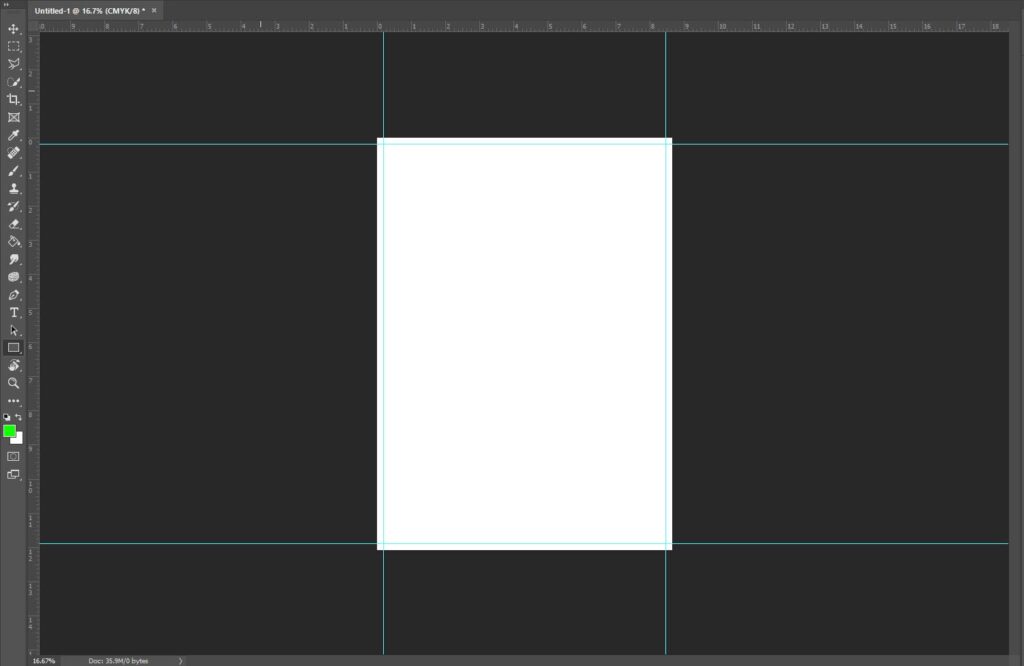
- Repeat the step but drag the guide to the right edge. Now, drag the guide from the top ruler to the top edge of your document, then repeat for the bottom edge. Your document should look like this. If you’d like to change the colors of your guides, adobe explains it here.
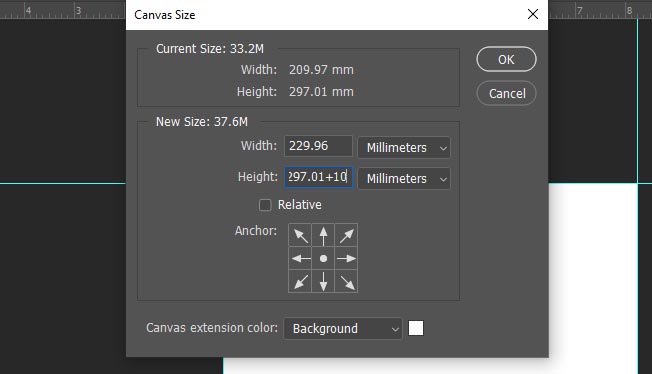
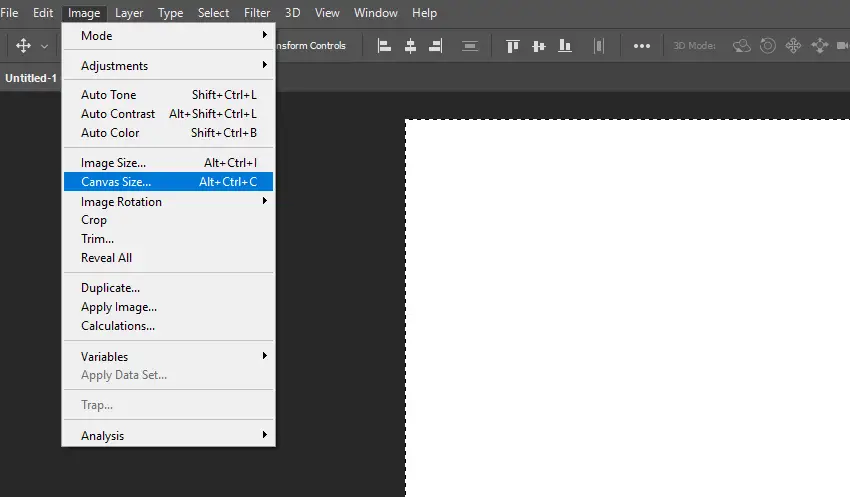
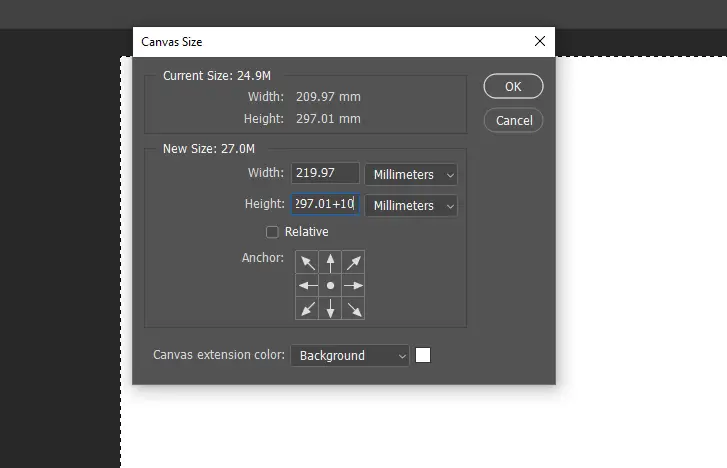
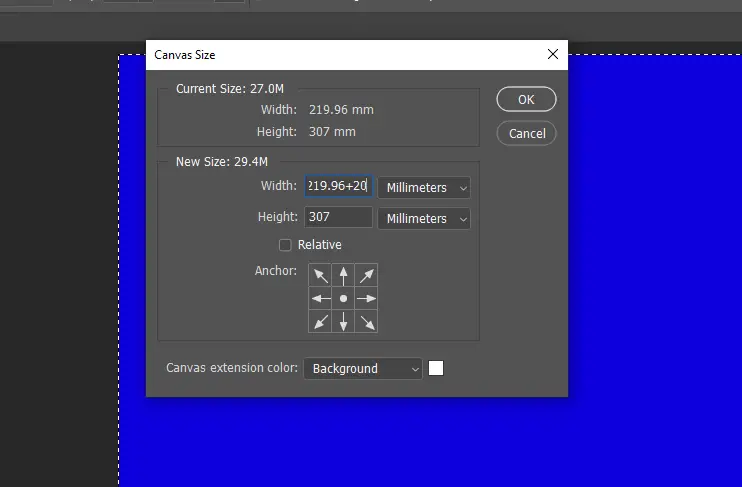
- Now go to “Image>Canvas size”. In the pop-up window, add double the bleed you want to the dimensions. For example, if you need a 5mm bleed, add 10mm to the width and 10mm to the height. You can change the units to millimeters, centimeters or inches to make the math easier depending on which you prefer to use. Standard bleed in the US is 1/8 Inches. Make sure the “Relative” box is unchecked so it doesn’t scale your bleed to the document. Then click “ok”.
- The new document is now bigger than your original since it now includes your bleed. Any important text or graphics should be well within your bleed so it doesn’t get cut out by the printer. For graphics or images that you want to print right to the edge of your print, make sure they overflow over the bleed marks.
- To save the document with bleed, go to “File>Print…” The printing dialog box will pop up. In the printer field, select “Microsoft Print to PDF” if you are using windows or on a Mac, under print settings, choose PDF>Save as PDF.
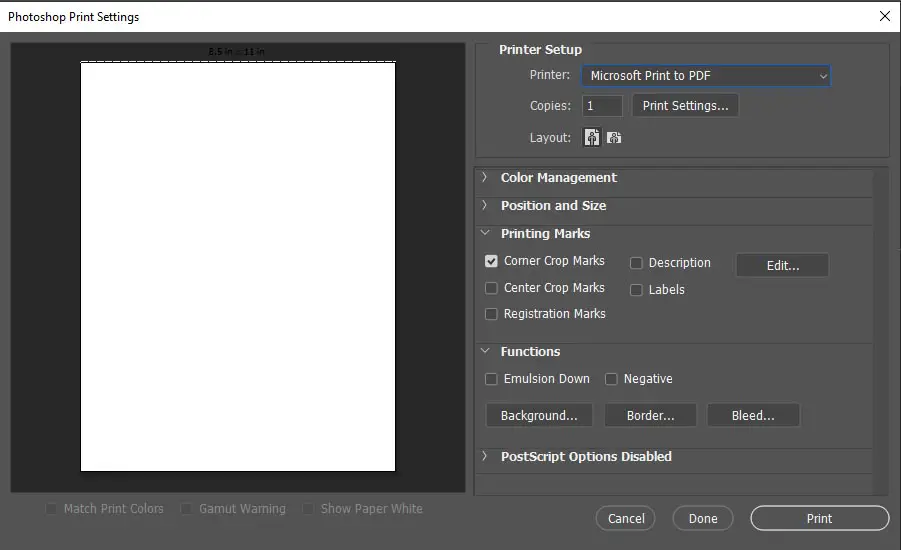
- Under “printing marks”, still in the printing dialog box, check the box that says “Corner Crop Marks”. This adds the crop marks, but the bleed is still not included.

- Under “Functions” in the dialog box, click “Bleed…”. In the Width field, add your bleed, in my case, it’s 5mm, then click ok. Now your bleed is set and will appear on the PDF. Click “Print” and your document will save as PDF, and your good to go.
Method 2: Using Marquee tool and automated bleed and crop marks with actions
- Create a new document in Photoshop by going to File>New…. In the new document dialog box, use the dimensions you want your final printed work to appear as. So if you’ll be printing an A4 poster, it’s 21×29.7cm. The resolution should be 300 Pixels/Inch and color mode CMYK, these are the standard settings for printing. Click create.

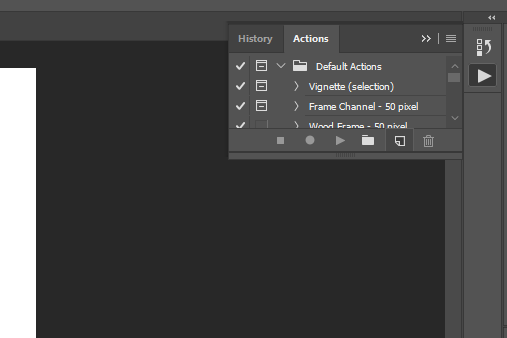
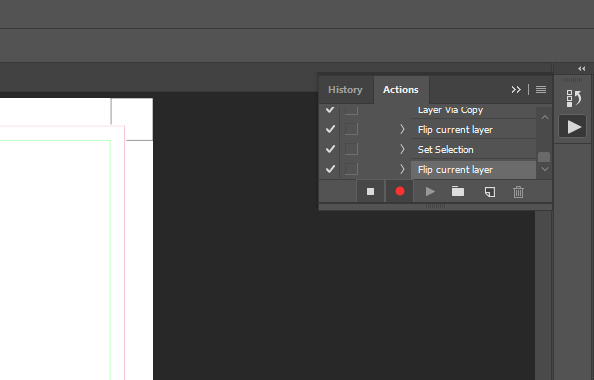
- Once your document is created, go to “Window” at the top bar, and select “Actions”. The Actions window should open.
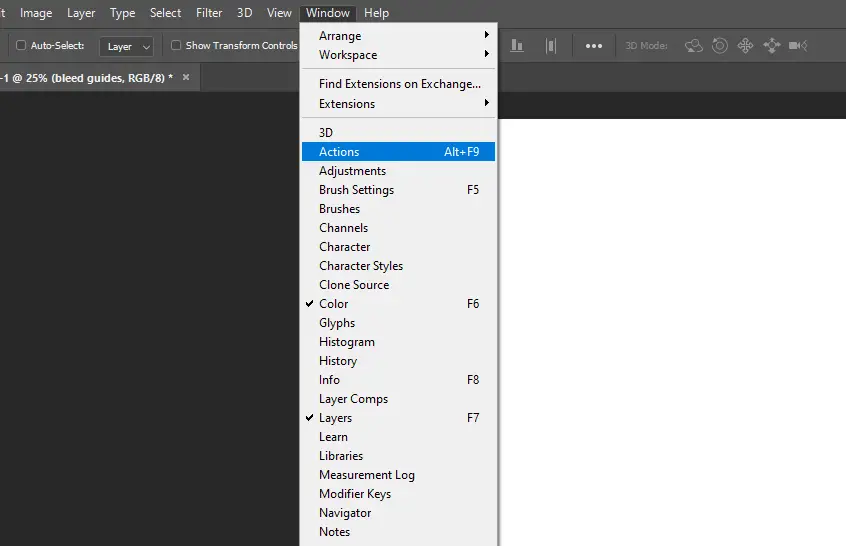
- This is where Photoshop will record our steps and save them for future automation of the process of adding the bleed. In the Actions window, select the icon for creating a new action.
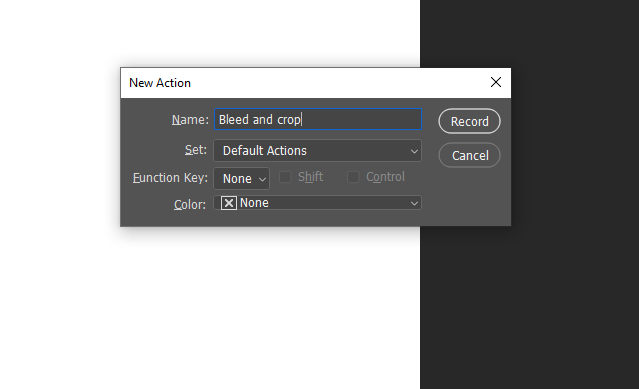
- Name the action. e.g Bleed and crop, or however you prefer so that it’s easy to find in future. Then click “Record”. Any step you make now, will be record by Photoshop as part of the action. So try not to make too many unnecessary moves, like erasing, painting or transforming parts of your document.
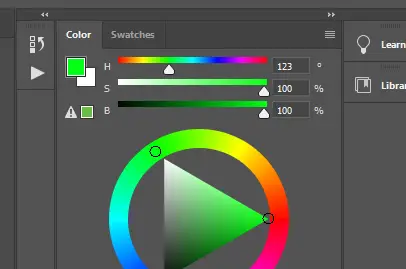
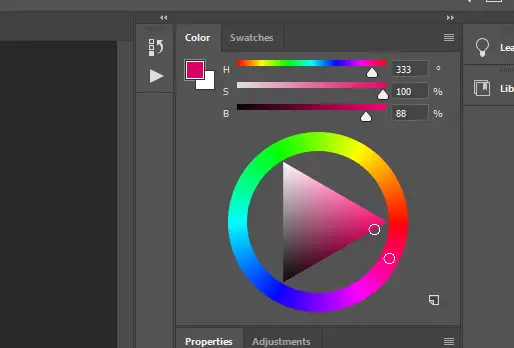
- Now create a New layer and name it “bleed”. Now pick a bright color like Green for your bleed line, or a color that will stand out from your work to make it easier to cut after printing.
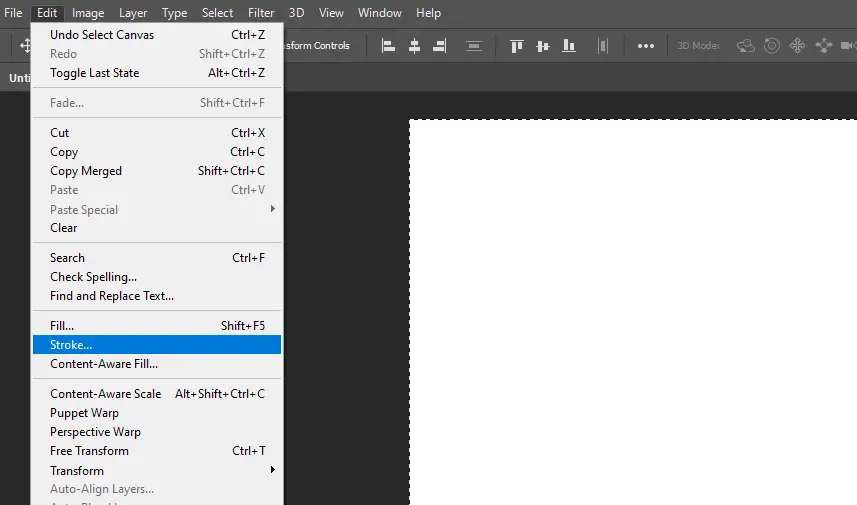
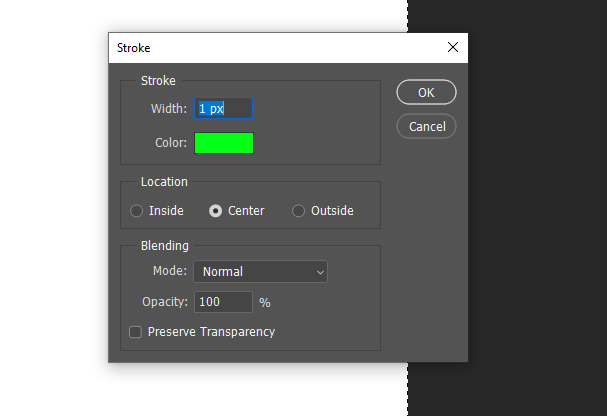
- Next, go to Select>All. This will select your document upto it’s edge. Then go to Edit>Stroke…. In the Stroke Dialog box, add a width as 1px. If your working with a larger document you can go higher for better visibility of the bleed line. Click ok.

- Next, go to Image>Canvas Size… . In the dialog box, add double the bleed you want to each dimension. In my example, I have a 5mm bleed, so I add 10mm to the width and another 10mm to the height. Uncheck the “Relative” box. If you’re working with inches or cm, you can change the units to make it easier for you. Click ok once you’re done. The canvas now includes the bleed, and the green line we created shows the edge of the safe area/final document size and the start of the bleed.
- To mark the outer edge of the bleed, repeat the step 6&7 but with a different color. I chose pink, go to Select>All then, Edit>Stroke, and 1px Width. Don’t expand the canvas again just yet.
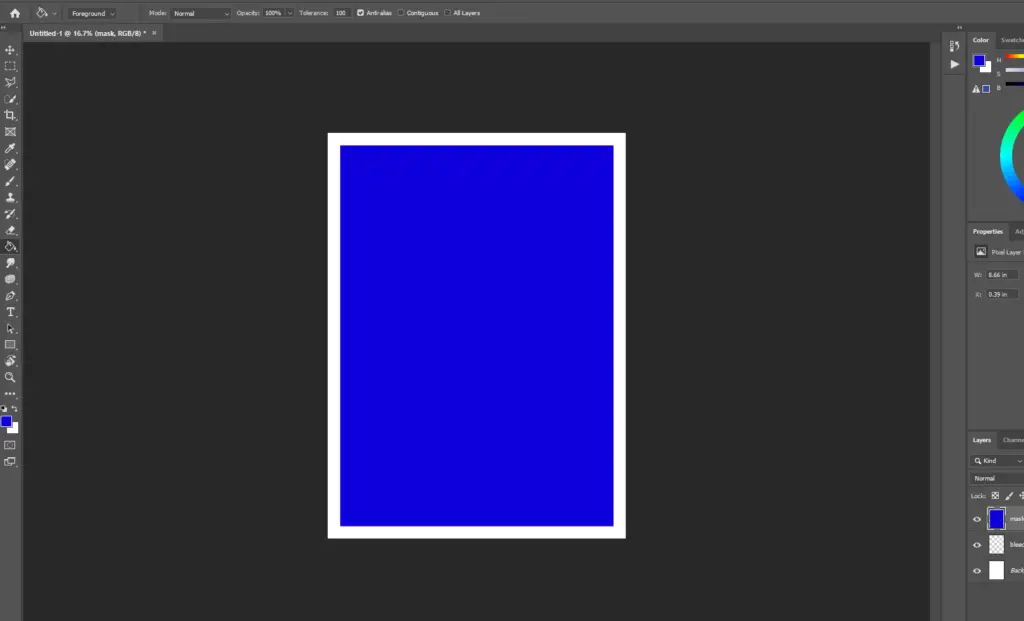
- Create a new layer and label it. This will contain the mask that will hide graphics in the bleed. Select>All then fill the layer with any color using the Fill tool. I chose blue.

- Now expand the canvas like we did before Image>Canvas, but this time add a measurement that will adequately contain your crop marks. I added 20mm to the width and height. Your document should look like so.
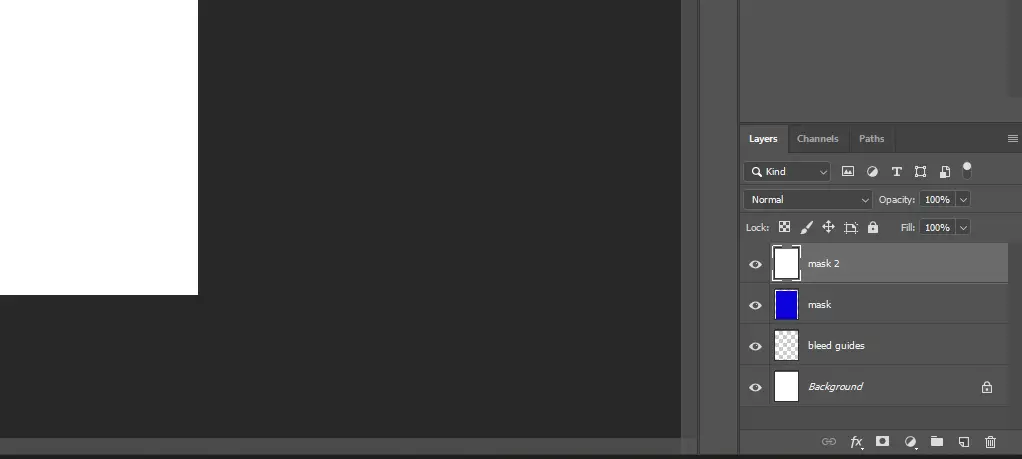
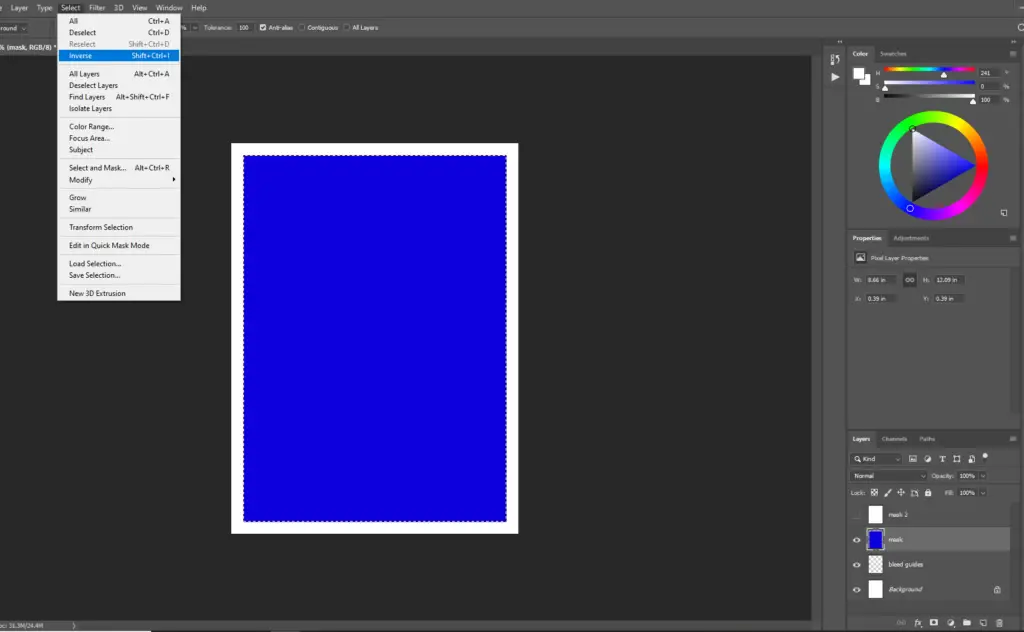
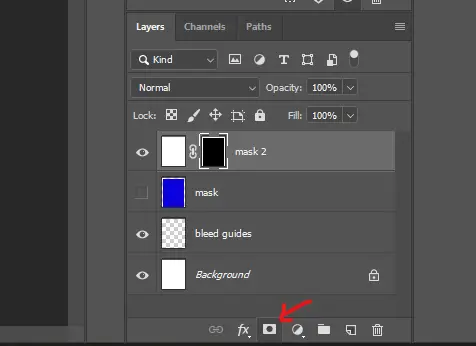
- Create a new layer and label it “mask 2”. Go back to the layer with your fill color (blue) and select the rectangle with the magic wand tool. Then click Select>Inverse to select the bleed+crop marks area.
- With the selection still active, go to the Mask 2 layer we created, and click the “new vector mask” icon as shown by the arrow in the image below. This creates the mask.
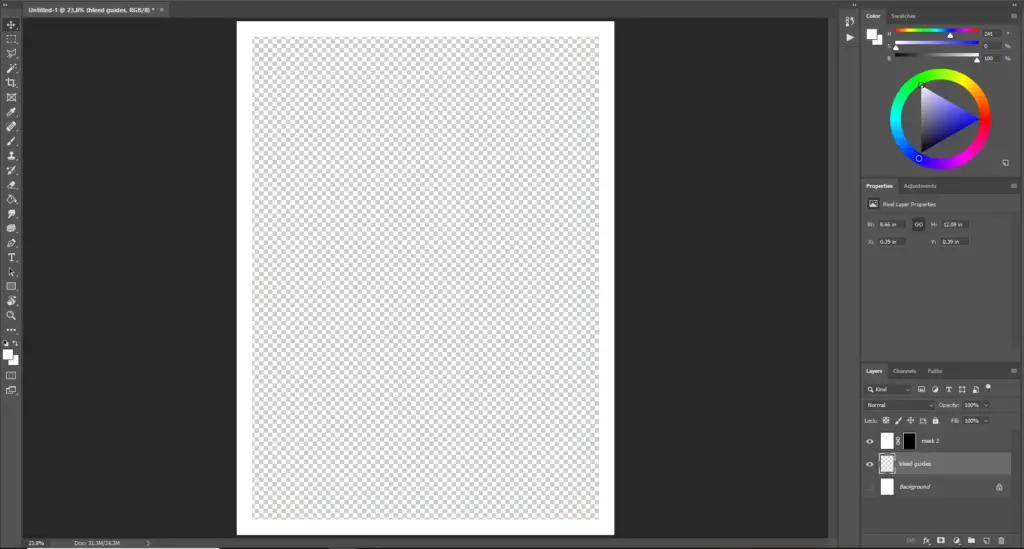
- Delete the color fill layer now. The document should look like this.
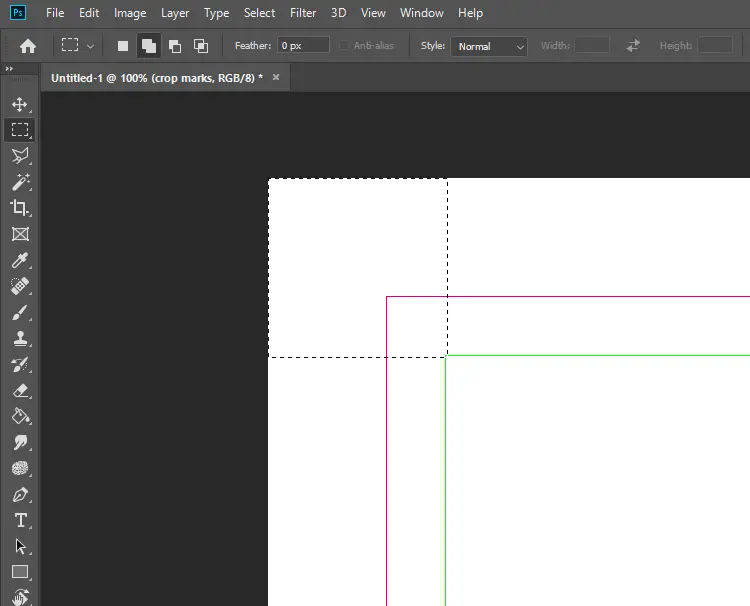
- Create a new layer and name it “crop marks”. Using the Marquee selection tool (M), select the top left corner of your document like so, from the furthest corner to the “green” bleed corner.
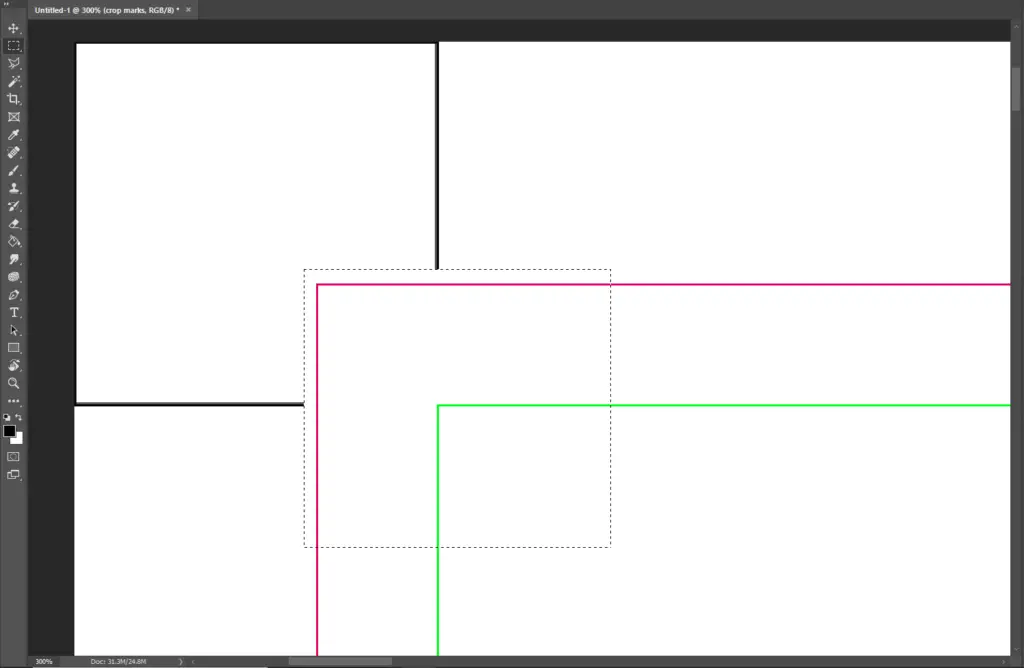
- With the selection active, go to Edit>Stroke and add 2px width. Choose black in the color box. This will be your crop mark.
- Using the Marquee tool, select the part of the crop marks encroaching the bleed area and add some more room. Delete the selection using Backspace or Delete on your keyboard. It should look like the pictures below.

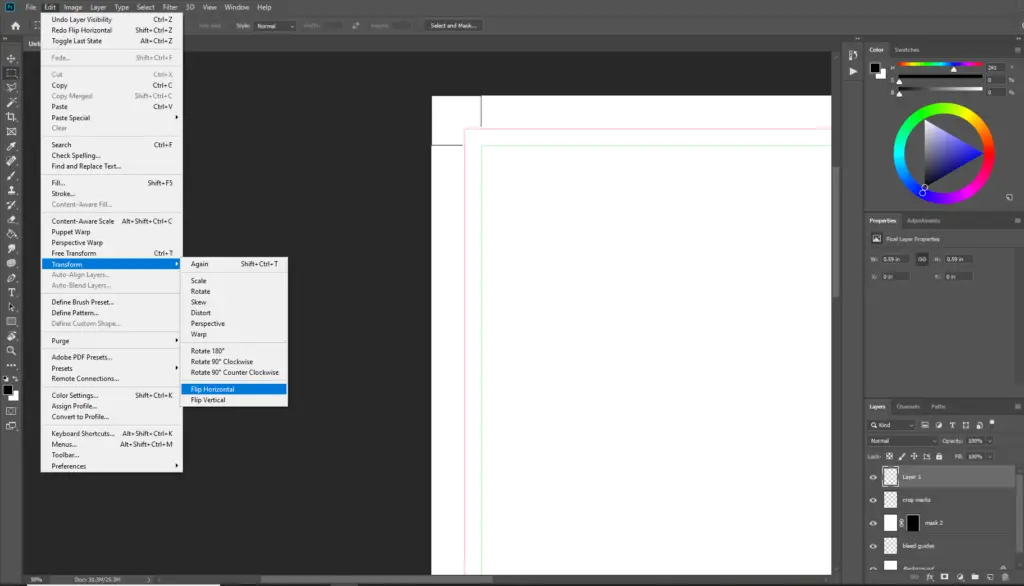
- Now we need to duplicate the crop mark to the other corners of your document. Duplicate the layer with Ctrl+J on your keyboard or Cmd+J on a Mac. Go to Edit>Transform>Flip horizontal. This will add the crop mark for the top right corner.
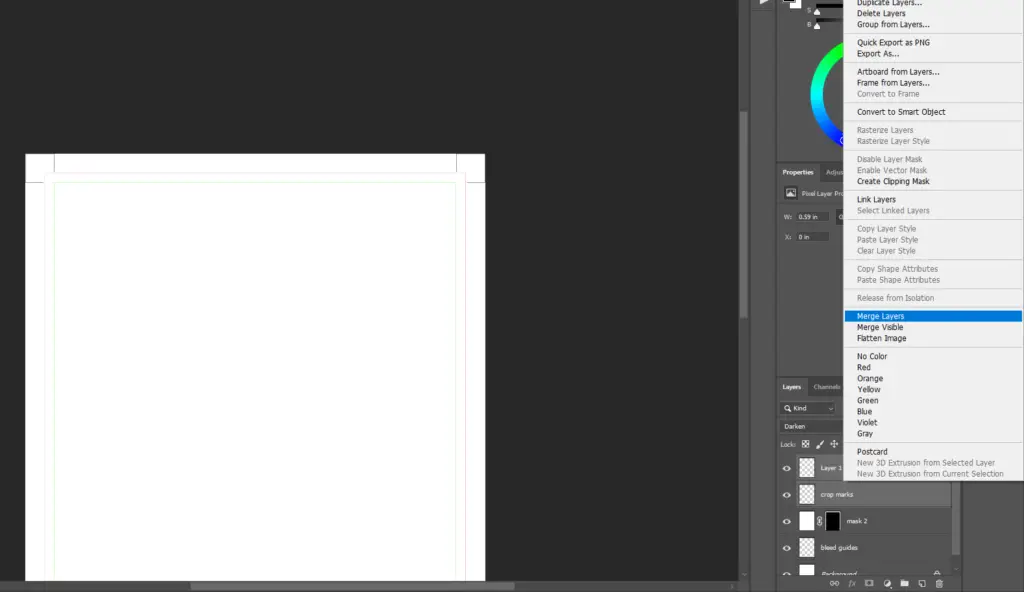
- Now merge the two layers by selecting both of them, right-click then “Merge Layers”. Now duplicate this layer with Ctrl+J or Cmd+J. Go to Edit>Transform>Flip Vertical. This will add the crop marks to the bottom corners. Now merge the crop layers into one and name it “crop marks” again.
- Now that all your bleeds and crops are all set up, go to the actions window and click the stop record button. This will save your bleed action.
- Next time you create a new document of similar size and want to add the bleed and crop marks, just go to the Actions panel, select your bleed action and play. This will automatically add your bleed. it may or may not work with other document dimensions from my experience.
- You can go on to create your design or art, and save it normally as jpeg, png, PSD or pdf and the bleed and crop marks will appear in the print for cutting.
FAQs
What is bleed?
Bleed is an area outside your final documents’ dimensions that gets trimmed off after printing. The bleed contains graphics that extend over the edge of the final print so that when the document is cut after printing, the edge is clean with no plain paper boundary.
Why is bleed important in printing?
When printing, most printers need to hold and grab the edge of the paper as it goes through the machine. The edges that are grabbed are not printed on and therefore most printers will leave a plain boundary around the print. This plain boundary needs to be trimmed off if the print is to appear from edge to edge. The bleed is the area that will get trimmed off.
When designing your document, backgrounds or color fills that appear right up to the edge are allowed to overflow into the bleed, so that when the document is trimmed, you get a clean line. Important type and graphics are kept away from the bleed in a safe area where there’s no risk of accidental trimming. Crop marks are often added to guide the trimmer on where the edges of the bleed lie.
What is the standard bleed size?
Bleed measurements generally depend on the size of your document, the printer and the trimmer’s preferences. Standard bleed size in the US is 1/8 Inches. 5mm is also common. The bleed is added twice to the width of the print dimensions and twice to the height. Read more about preparing your documents for printing at tutsplus here.
Are you trying to learn graphic design? Read 10 free graphic design course online.