Let’s face it, we’re not getting any younger, or less tired. And trying to get rid of baggy dark circles naturally is a hustle, even with a tonne of cucumbers. What we have though, is our trusty friend Photoshop. With photoshop, you can brighten under the eyes and remove dark circles in a few simple steps and instantly look 5 years younger and well-rested. In this tutorial, I’ll show you how to remove dark circles and brighten dark areas of skin in less than 2 minutes in Adobe Photoshop.
How to brighten under eyes
Step 1
Open your image in Photoshop by dragging it from it’s location on your computer onto the canvas, or select File>Open.
Step 2
Select your background layer and press Ctrl+J or Cmd+J on your keyboard to copy the layer.
Step 3
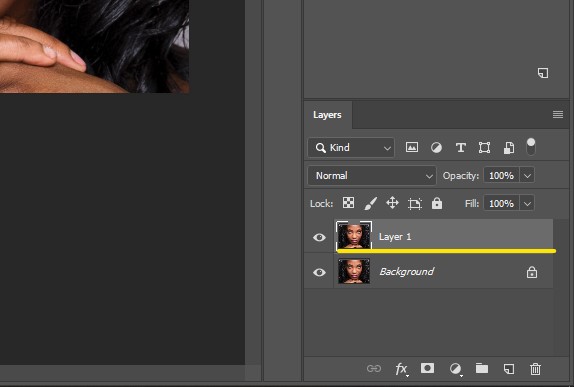
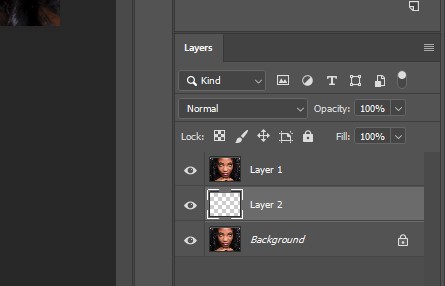
Select the background layer and then create a new layer by clicking the new layer icon in your layers panel. The new layer should appear between the other two as shown below.
Step 4
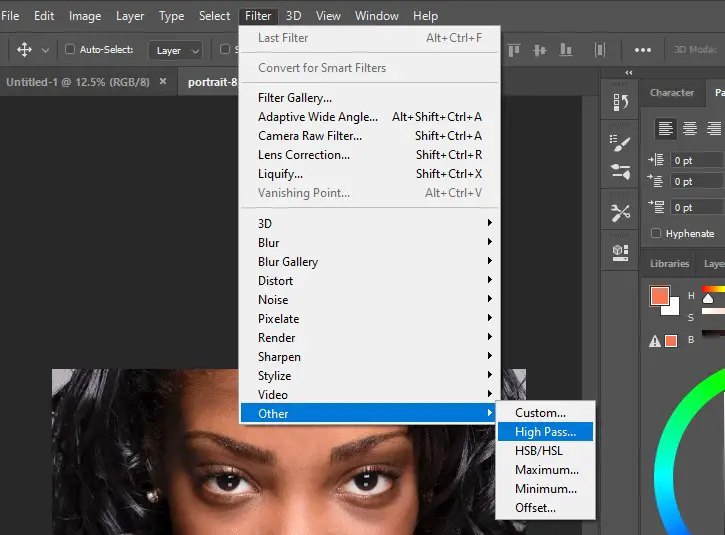
Select Layer 1 which is the copy of the background layer and go to Filter and click Convert for Smart Filters. Click ok and this will convert it into a smart object.
Step 5
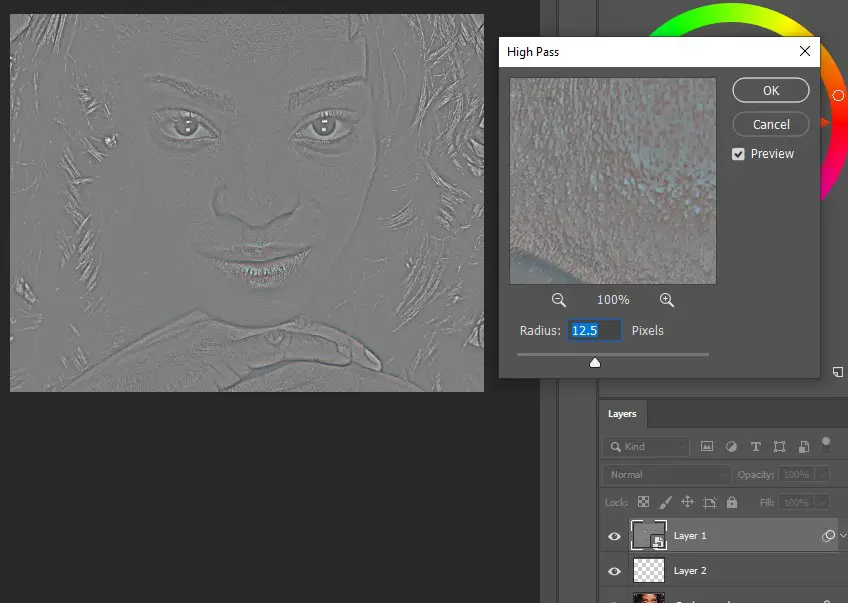
Now go to Filter>Other>High Pass… In the High Pass window, increase the radius value until you reach a point where you start to see the dark circle or shadow under the eye begin to appear. My image works well with a setting of 12.5. Make sure preview is checked so you can see this change happen. Then click ok.
Step 6
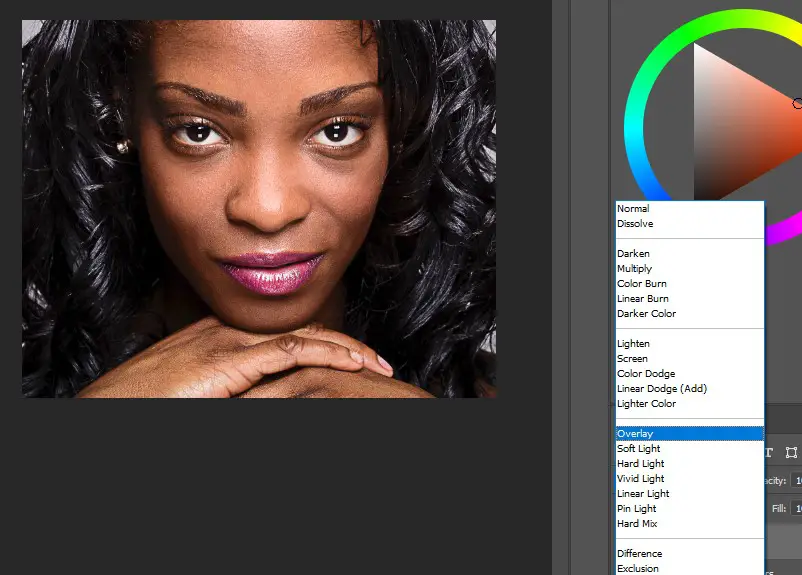
In the Layers panel, change the blend mode of the layer to Overlay.
Step 7
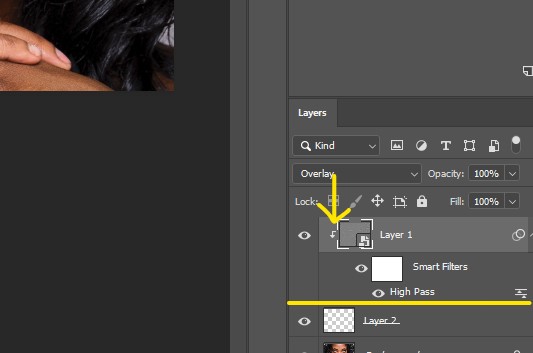
While holding Alt on your keyboard, left-click on the line separating layer 1 and layer 2. You’ll see a small arrow icon appear on layer 1. This applies the effect of layer one onto layer 2 only.
Step 8
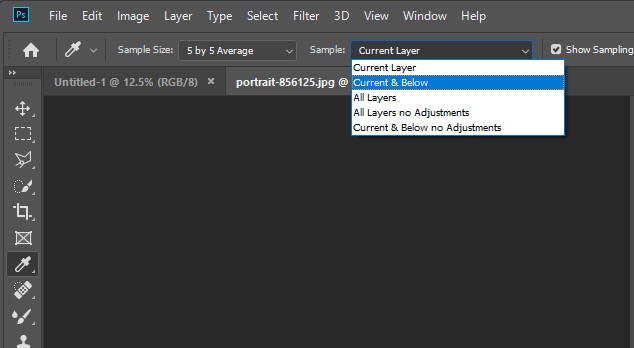
Select the eye-dropper tool. The sample should be set to Current & Below and sample size 5 by 5 Average.
Step 9
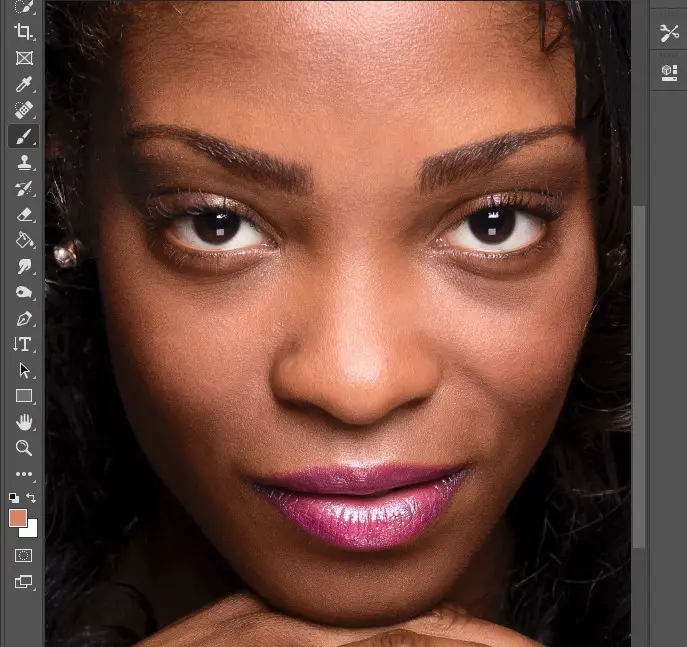
Now select your brush tool and choose a soft round brush. Hold alt and click on a bright area around the dark area under the eye to sample it. Release alt. Select the blank layer 2.
Step 10
Decrease the flow to 10% and brush over the dark area. Make repeat strokes as the effect works gradually. If the brightening is too strong, undo the brush stroke and reduce the flow further.
Step 11
Brush over dark circles until you’ve brightened both under eyes and they look uniform. See the before and after transformation below. This method maintains the texture and natural shadows of the skin and eliminates the dark circles or eyebags under the eyes.

Step 12
Now you know how to perfectly and quickly brighten the area under the eyes and remove dark circles. This technique can work with other areas of skin like dark spots you need to brighten!
Summary and tips when removing dark circles
Try not to overdo it. For a face to look natural, there’s always a slight shadow under the eyes following the curve of the lower eyelid. In the tutorial above, you can reduce the flow of the brush to retain some of the shadow and achieve a natural look.
Dark features, not necessarily dark circles, can appear on the face as a result of taking photos under strong light like midday sunlight. To remove these shadows, the high pass technique helps and it is non-destructive, meaning you can reverse the changes back to your original image easily in the same Photoshop. Using this highpass technique, you retain the textures of the skin, unlike other techniques where you blur out the textures or get mismatched colors and saturation burn.
To brighten or darken large areas of the face or photo background, you can check out my tutorial article on dodging and burning with non-destructive methods.