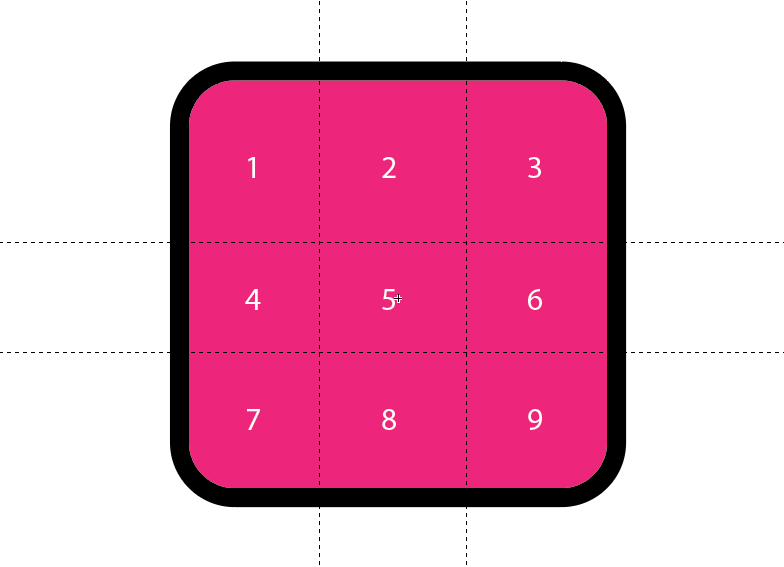
9-slice scaling is a 2D image resizing technique that proportionally scales an image by splitting it into nine sections. Each of these sections will be reduced or expanded according to the value given for their corresponding percentage of stretching.

One great benefit of 9-slice scaling is that corners are preserved and not stretched. For instance, if you are scaling a rectangle with round corners, the corners will remain round instead of becoming distorted. Some of the main uses for 9-slice scaling include resizing images for print, creating icons, symbols and buttons, and designing bitmaps or sprites.
Is 9-slice scaling effective for image resizing?
The idea is to prevent image scaling distortion by protecting the pixels defined in the four corners of the image and scaling or repeating the pixels in the other five.
Below is an excellent gif illustration posted by twitter user @alainparadis of how 9-slice scaling in Illustrator works.
How to implement 9-slice scaling in Illustrator
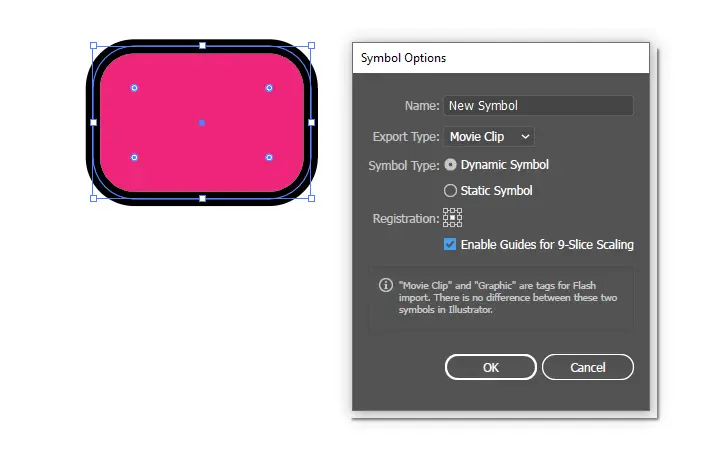
- Create a symbol by selecting your shape and pressing (F8).
- In the symbol options dialog box, select “Enable Guides for 9-slice scaling”.

- Under the Export type drop-down list, select “Movie Clip”. Then click “ok”.
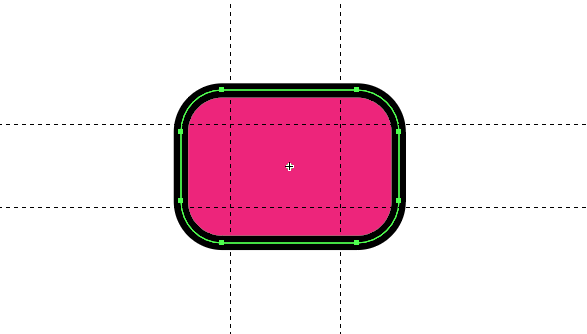
- Then double click the symbol to see two horizontal guides and two vertical guides.

- You can manipulate the guides to get different scaling results.
- Double-click on a blank area of the artboard to save the symbol.
Also learn What does pt mean in Adobe Illustrator?
