In illustrator, objects can be stacked outside the artboards and dragged into them when necessary. This can be however distracting when trying to visualize the finished product. You can delete or hide this excess material in a number of ways to help you better preview your final project.
If you want to hide objects outside your artboard:
Go to View in the top menu bar and select Trim View. This hides all objects outside your artboard dimensions. Note that this may not be what the artwork will look like when you export or print it. The best method to ensure the objects will be hidden in your final work is using the clipping mask.
Hide objects outside artboards with clipping mask
To crop your objects without the risk of deformation, you can use the masking options in Illustrator. The clipping mask is drawn around the artboard, rendering everything outside of it invisible while the contents remain visible.
To use the clipping mask, do the following:
- While on your topmost layer, select the rectangle tool under the shape tool and click on your artboard.
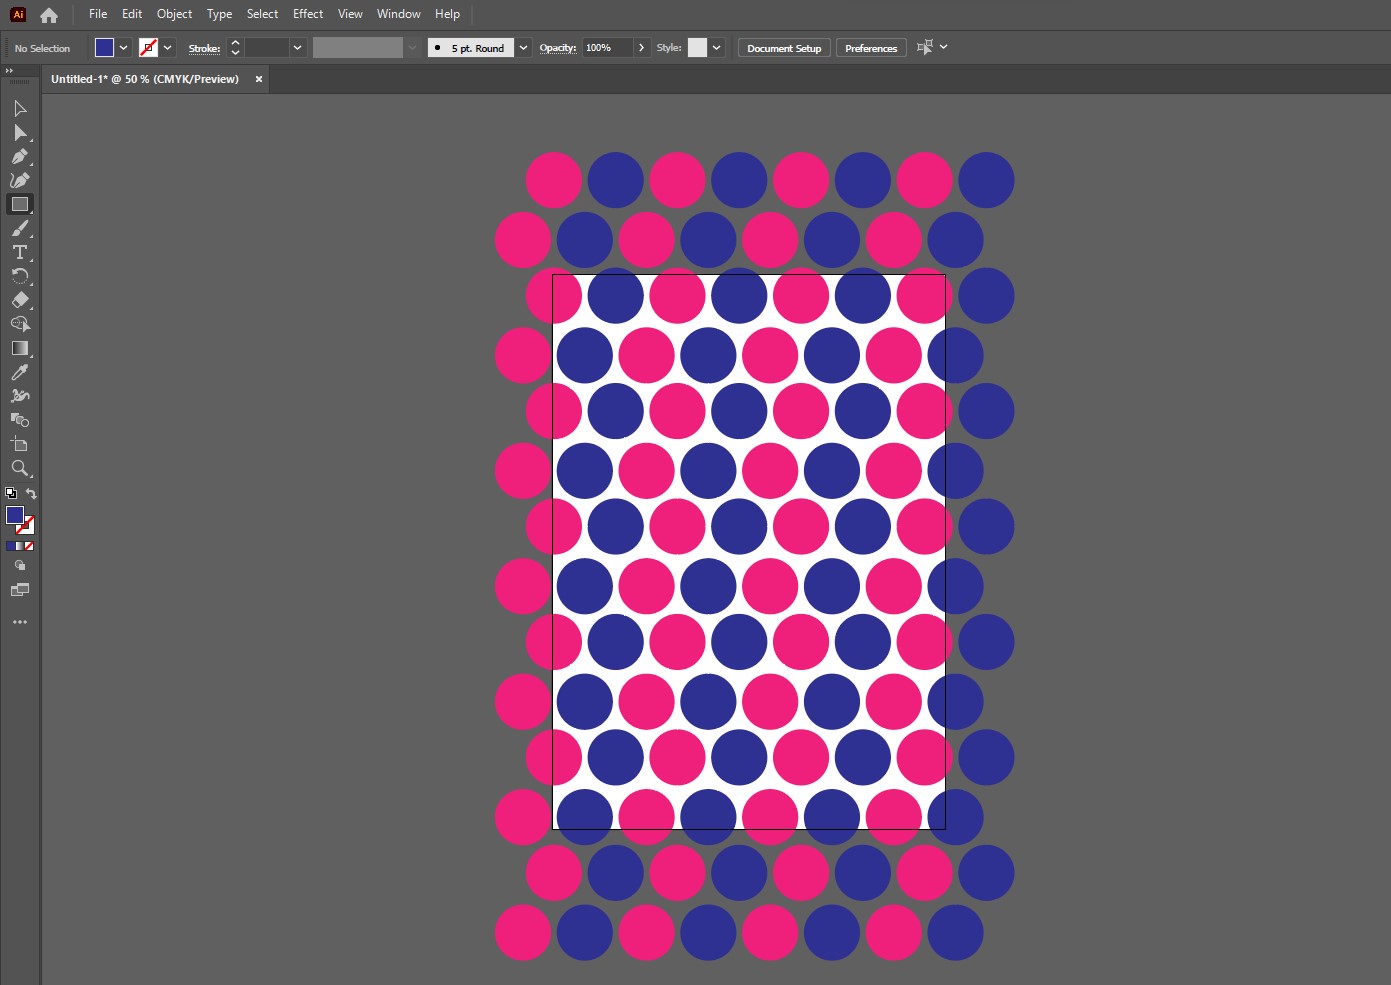
- Enter the dimensions of your artboard in the Width and Height fields. This will ensure a perfect fit.
- Line up the rectangle with the artboard.
- Click Ctrl+A or Cmd+A on mac to select all objects (make sure all layers and objects are unlocked and visible)
- Then click on the Object menu. Click Clipping Mask and select Make.
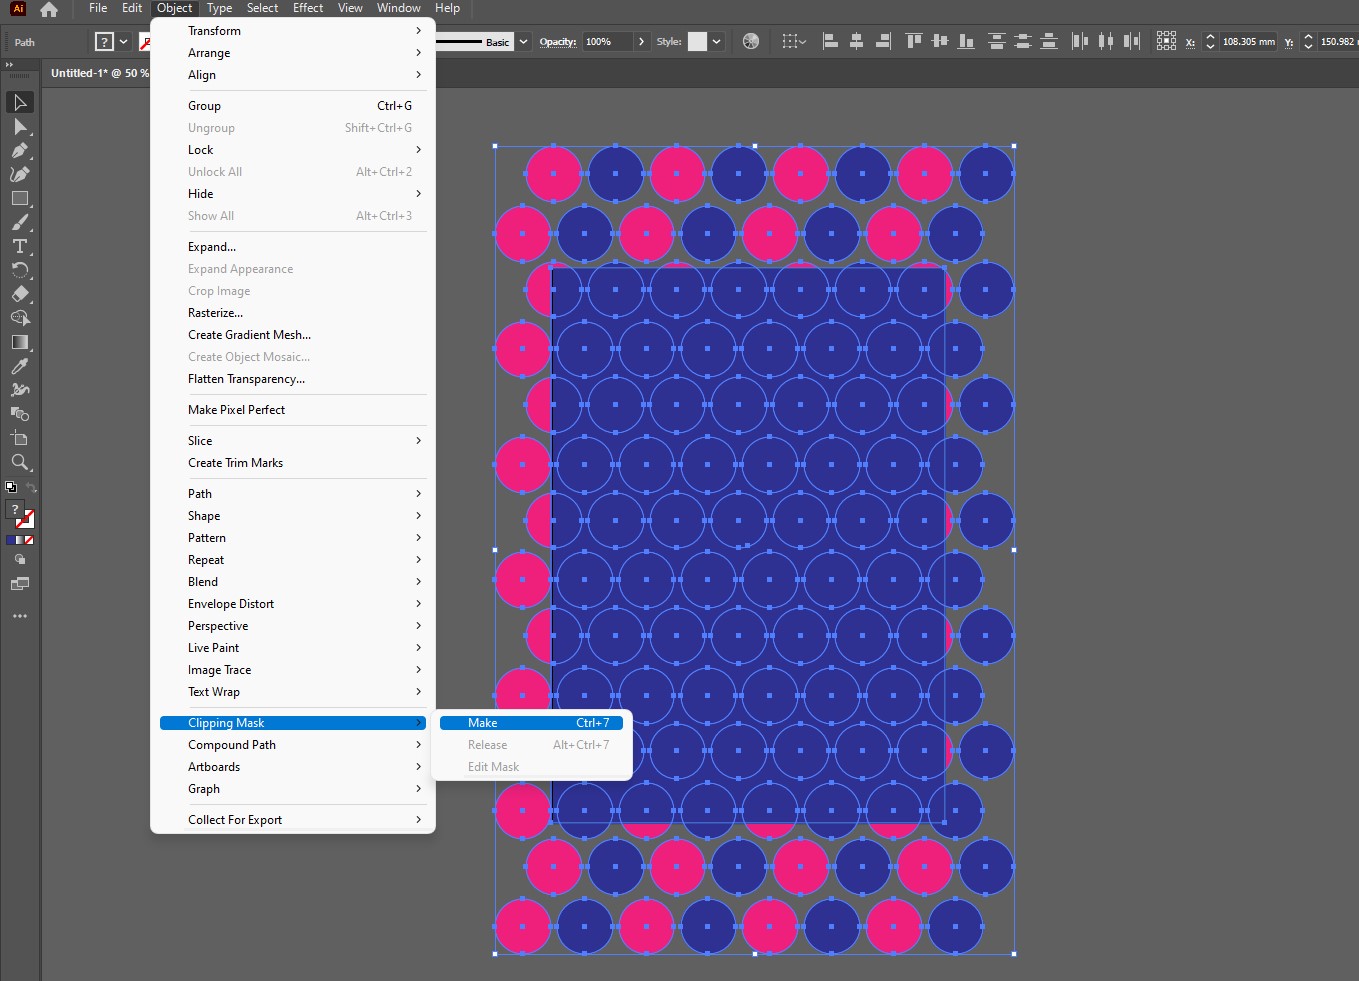
- This will hide everything outside the rectangle. You can still edit the shapes/images by clicking the masked objects and clicking “edit contents” in the options bar. You can release the objects if you right-click and choose “release clipping mask”.
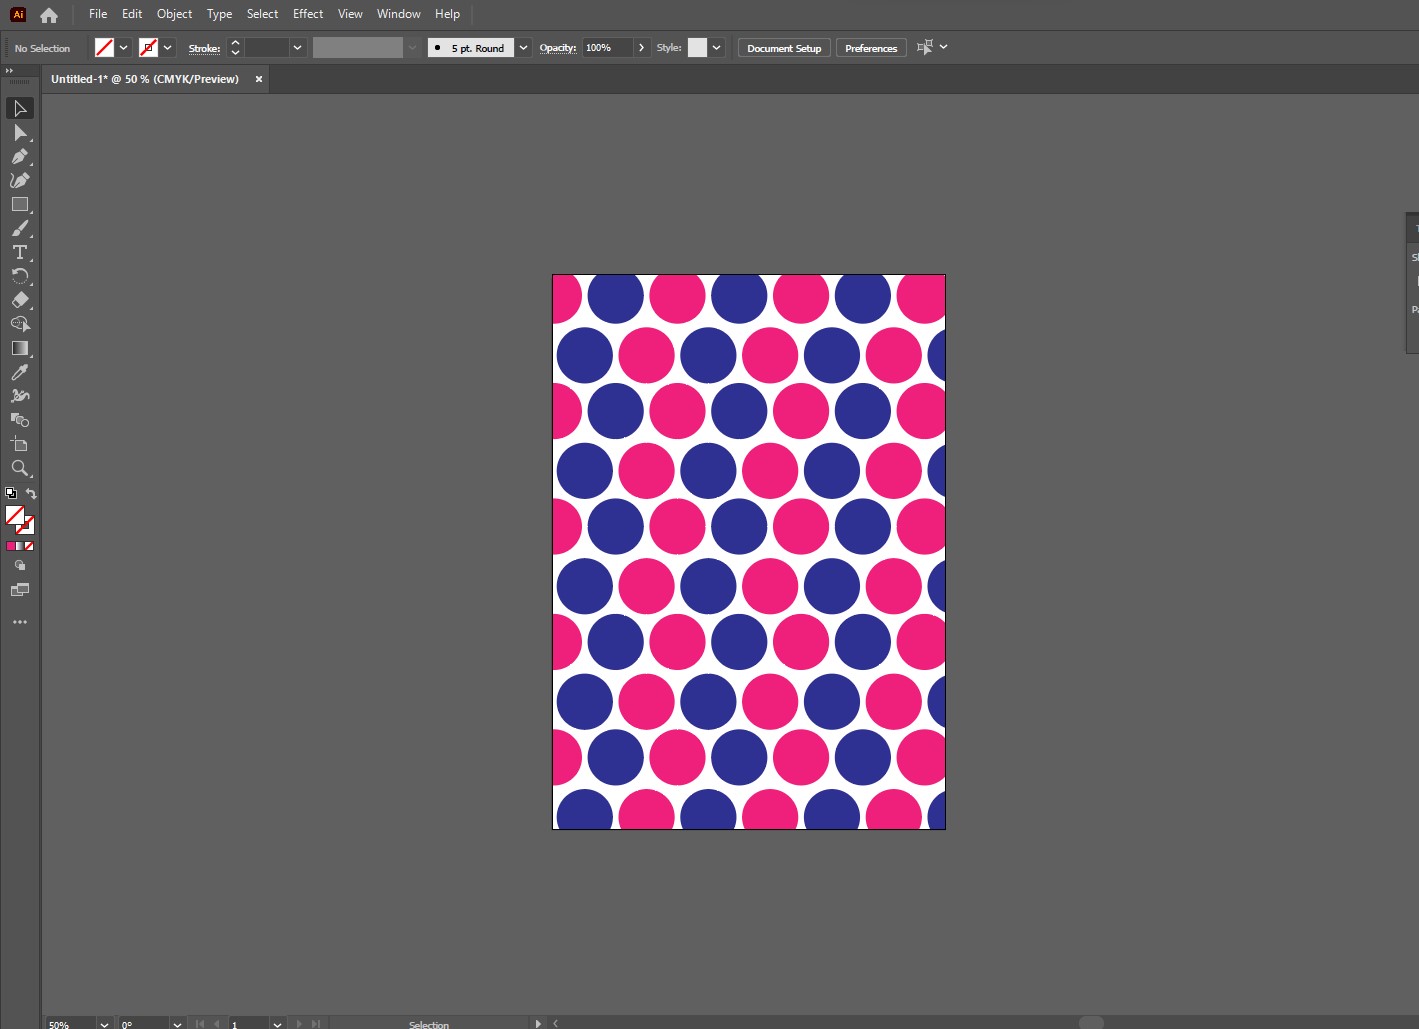
The layer clipping mask is good for visually cropping vectors to the artboard. First, ensure that you create a rectangle up to the size of the artboard in the same layer as your objects. Then click on the layer name and then on the Layer Clipping mask icon. This does not actually crop your vector drawings. All it does is hide places outside the boundaries of the artboard. Once you export the images, they will adhere to the cropped region.
You can edit the contents in the clipping mast by using the edit tools in the options bar or double-clicking on the object. You can also release the clipping mask by selecting it and going to Object>Clipping Mask>Release (Alt+Ctrl+7).
How to delete shapes outside the artboard.
If you want to get rid of materials outside the artboard you can simply crop them out. In order to do this, you have to first overlay all your objects on the same layer. Create a rectangle in front of the objects.
Once your layer is in place, open the Pathfinder panel (WIndow>Pathfinder). Then select Crop. This eliminates everything outside the vector object and your workspace will be free of materials.
Be careful when doing this as it could divide the object into several parts, making it difficult to re-edit your file.
Conclusion
You can delete or hide objects outside your artboard, to eliminate distraction and visualize what the end product will look like. You can trim your artboard or use clipping masks to ensure the objects adhere to the chosen area.
Need to know how to duplicate a layer in Illustrator?