Blurring can be used in different ways in Photoshop such as creating a bokeh effect in Photography or simply hiding parts of the image.
There are various ways to blur the background in Photoshop. Read on to find the method that will help you achieve your desired look:
Method 1: Using the Gaussian Blur Filter
Open the image in Photoshop
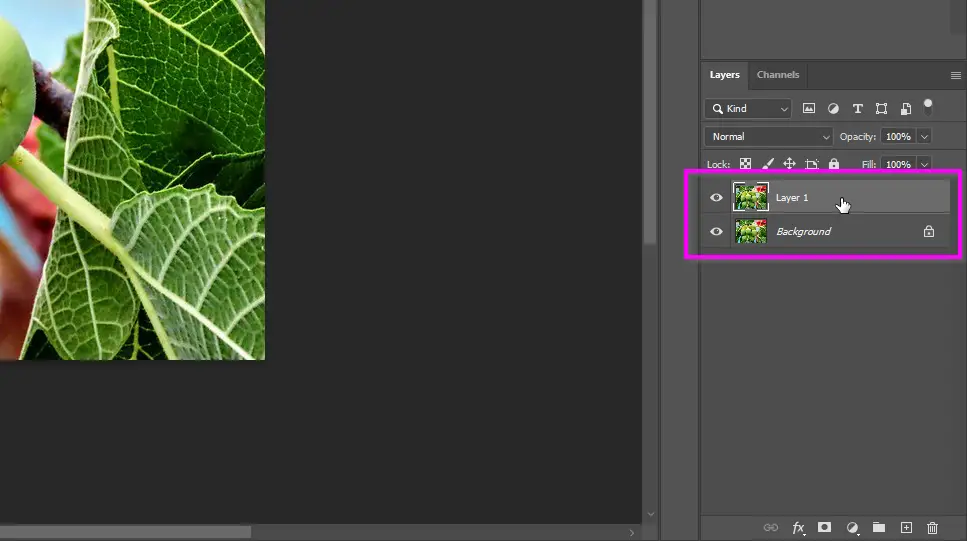
Duplicate the background layer using the shortcut Ctrl+J or Cmd+J on a mac.
In the new duplicated layer on top, select the parts of the background you would like to blur then hit Shift+Ctrl+I or Shift+Cmd+I on mac to invert the selection.
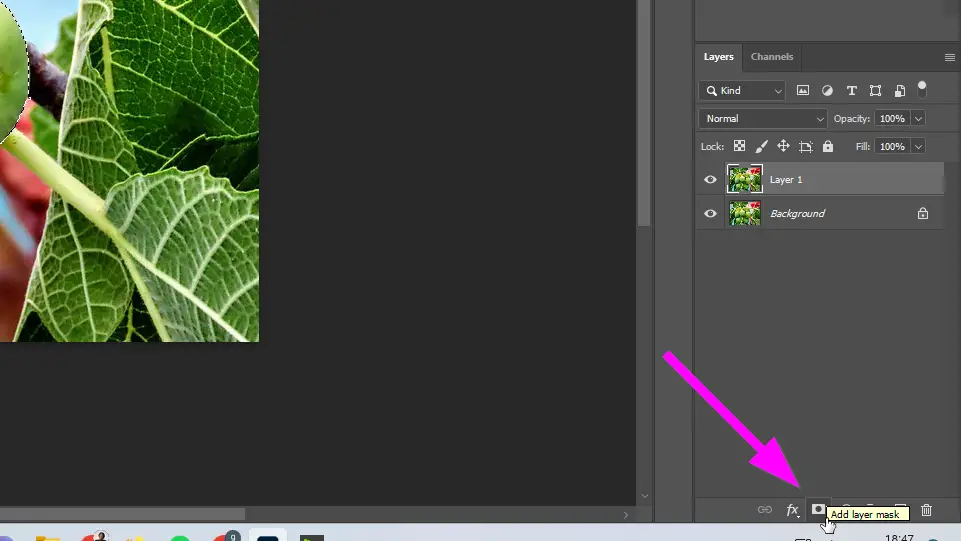
Click the mask icon to mask the background.
Select the original layer, which is now the background of your image.
Right-click and choose “convert to smart object”. This will enable you to adjust the amount of blur later on.
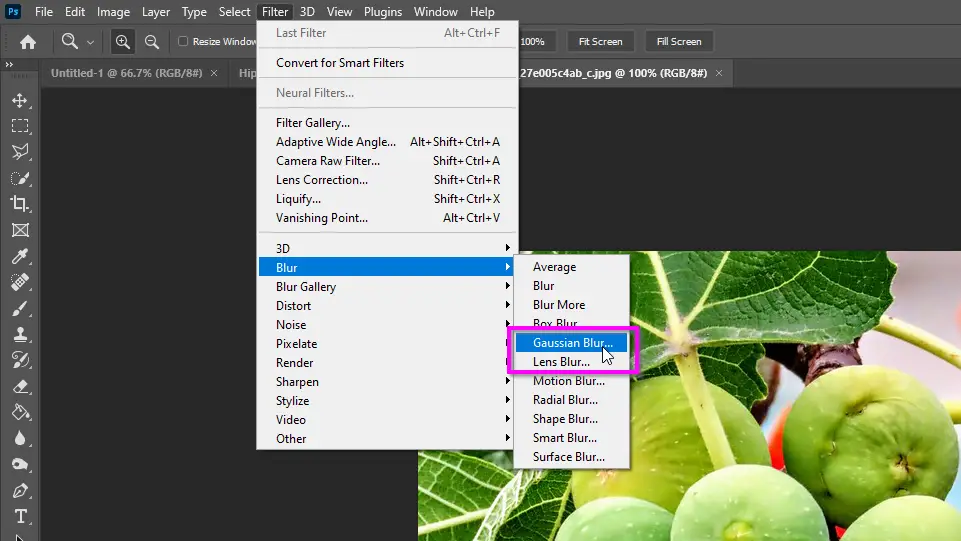
Go to Filter > Blur > Gaussian Blur.
In the Gaussian Blur dialog box, adjust the Radius slider to control the amount of blur.
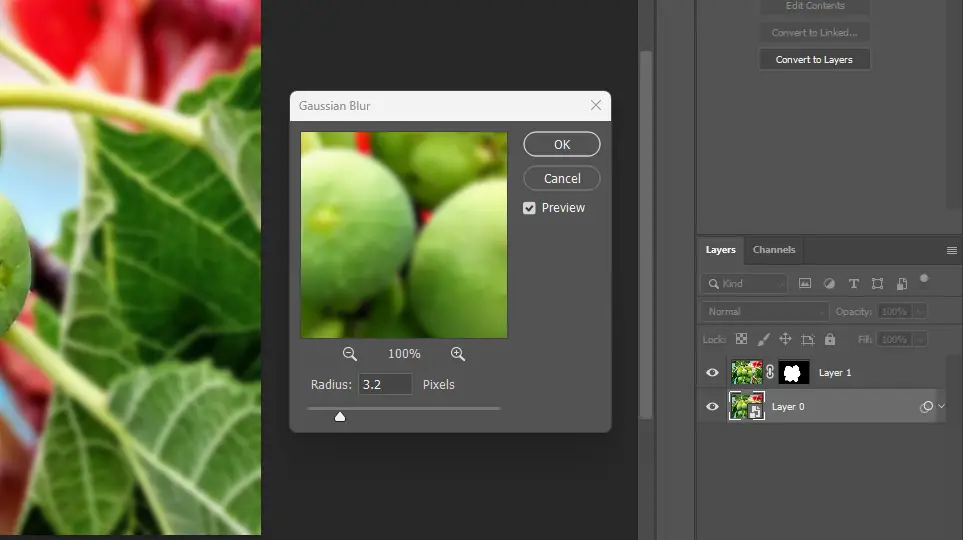
Click OK.
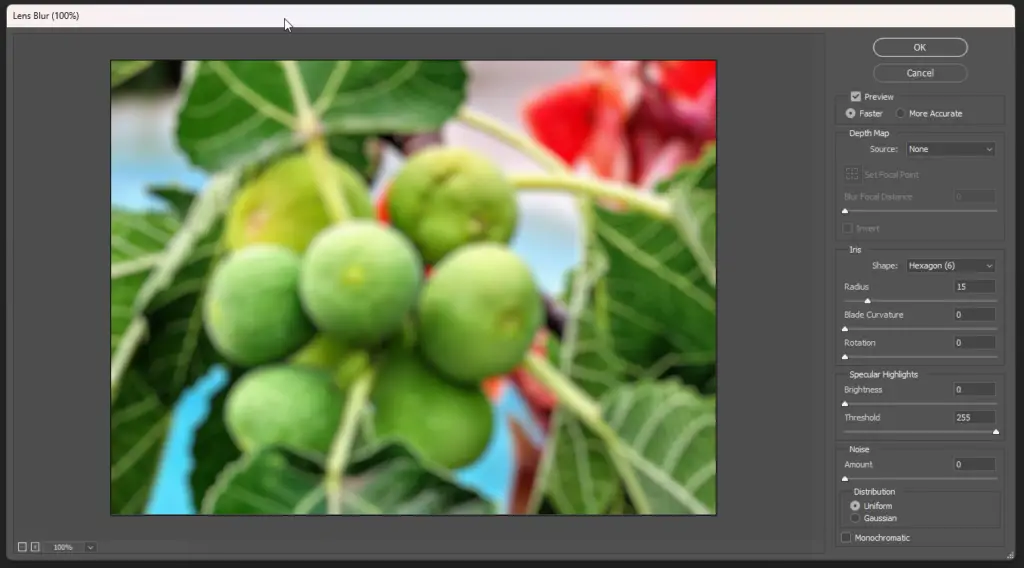
Method 2: Using the Lens Blur Filter
- Open the image in Photoshop
- Duplicate the background layer using the shortcut Ctrl+J or Cmd+J on a mac.
- In the new duplicated layer on top, select the background you would like to blur then hit Shift+Ctrl+I or Shift+Cmd+I on mac to invert the selection.
- Click the mask icon to mask the background.
- Select the original layer, which is now the background of your image.
- Right-click and choose “convert to smart object”.
- Go to Filter > Blur > Lens Blur.
- In the Lens Blur dialog box, adjust the Blur Focal Distance and Blur Radius sliders to control the amount of blur.
- Click OK.
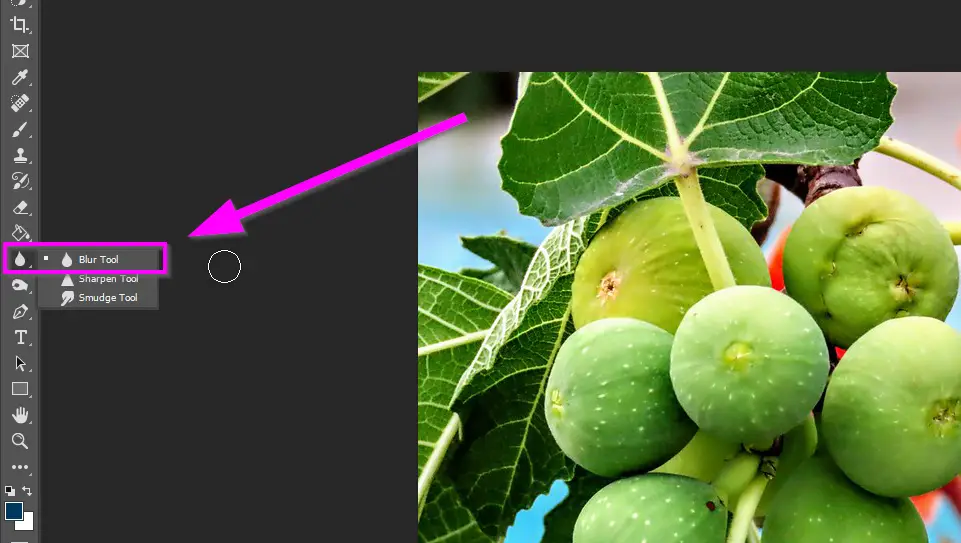
Method 3: Using the Blur Tool
The blur tool is used to blur areas of an image. It can be used to create a variety of effects, such as softening the focus of an image, creating a motion blur, or removing unwanted objects from an image.
However the blur tool is destructive in that you cannot easily reverse the changes except with the undo function. With the other methods the filters are applied as smart objects and can be adjusted or reverted through their settings.
To use the blur tool, simply select it from the toolbar and click and drag over the area of the image that you want to blur like you would with a paint brush.
The blur tool has a number of settings that you can use to control the amount of blur. These settings include the brush size, the strength of the blur, and the brush angle. You can adjust these settings to create the desired effect.
When using the blur tool:
- Use the blur tool sparingly. Too much blur can make your image look unnatural.
- Use the blur tool in combination with masking to create depth of field. This is a technique that photographers use to make the background of an image blurry, while the subject is in focus.
- Use the blur tool to remove unwanted objects from an image. This can be a great way to clean up your photos.
- Experiment with the different settings on the blur tool to create different effects.
Which is the best method to use?
The best method for you will depend on your needs. If you want to create a uniform blur across the entire background, then the Gaussian Blur filter is a good option. If you want to create a more natural blur, such as the blur you would see from a camera lens, then the Lens Blur filter is a better option. The blur tool will help you with blurring specific areas of your image.