Adding or removing a person from a photo is a common need in photo-editing. By using Adobe Photoshop, you can seamlessly blend individuals into different environments. In this guide, I will take you step-by-step through the process of photoshopping someone into a picture, ensuring a natural and visually appealing result. So, let’s dive in and discover how to master the art of photo manipulation!
1. Find Suitable Images
The first step is to choose the right images. You will need two images: the image that you want to add the person to, and the image of the person that you want to add.
The image that you want to add the person to should be high-quality and have a good background. The background should be simple and free of distractions. In this example, I’m going to add the person on the right, to the image on the left.
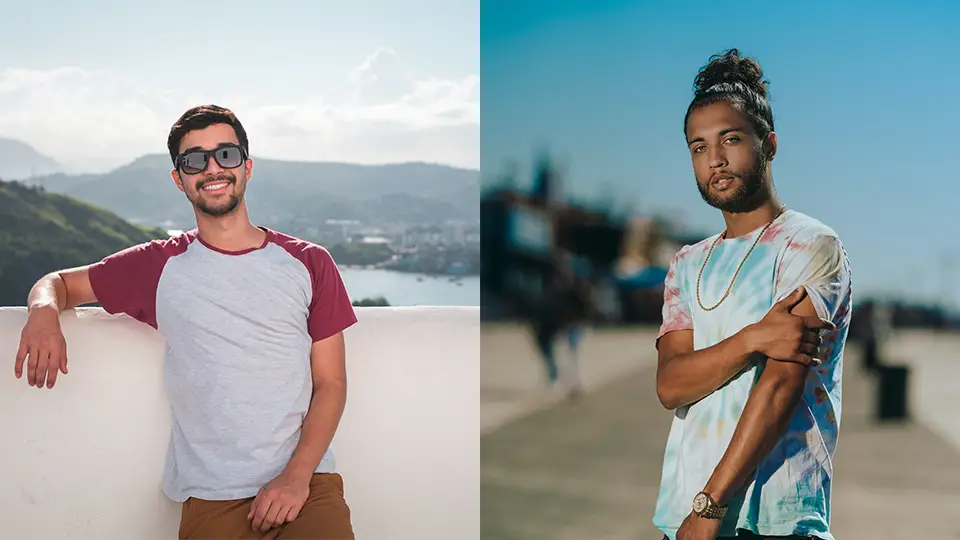
The image of the person that you want to add should also be high-quality and have a good background.
Select two photos that share similarities in lighting, perspective, angles, and resolution. These factors are crucial for achieving a realistic outcome. It is recommended to choose images with a clean background, as it simplifies the extraction process.
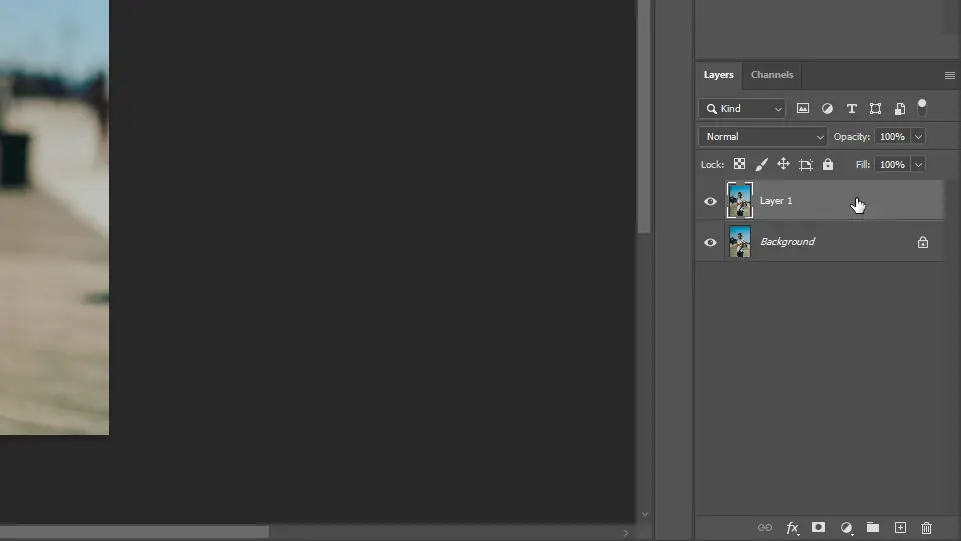
2. Duplicate the Background Layer
Open your chosen photo (with the person you want to extract) in Photoshop and duplicate the background layer by using the shortcut Cmd + J (Mac) or Ctrl + J (Windows). This duplication serves as a backup layer, allowing you to make non-destructive edits.
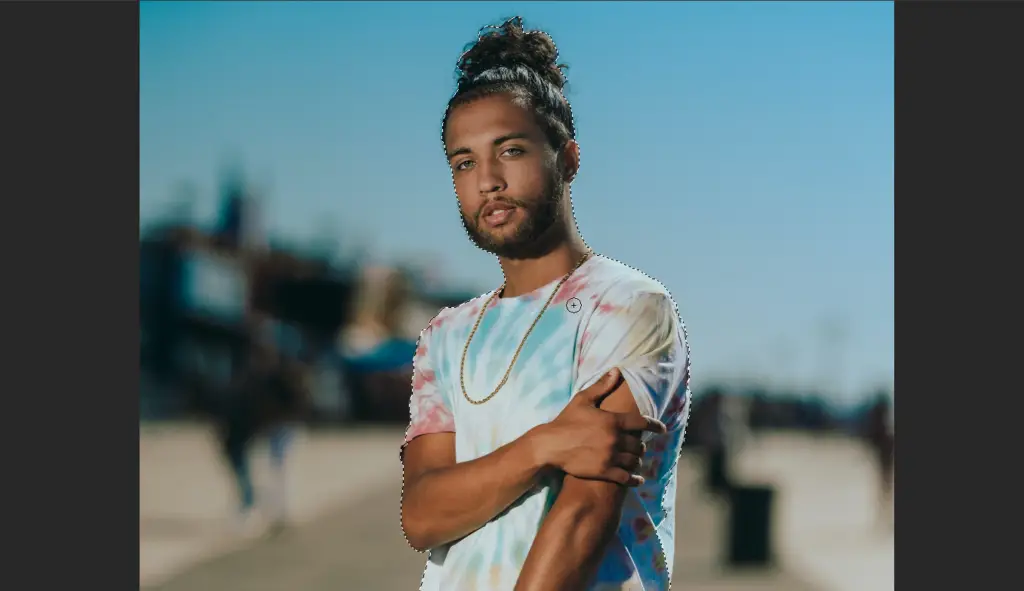
3. Make a Selection
Utilize the Quick Selection tool to select the person you want to extract from one of the photos. Simply click and drag over the subject, and you’ll notice a selection outline forming around them. Don’t worry about precision at this stage; we will refine the selection later. Ensure all parts of the person’s body are selected.
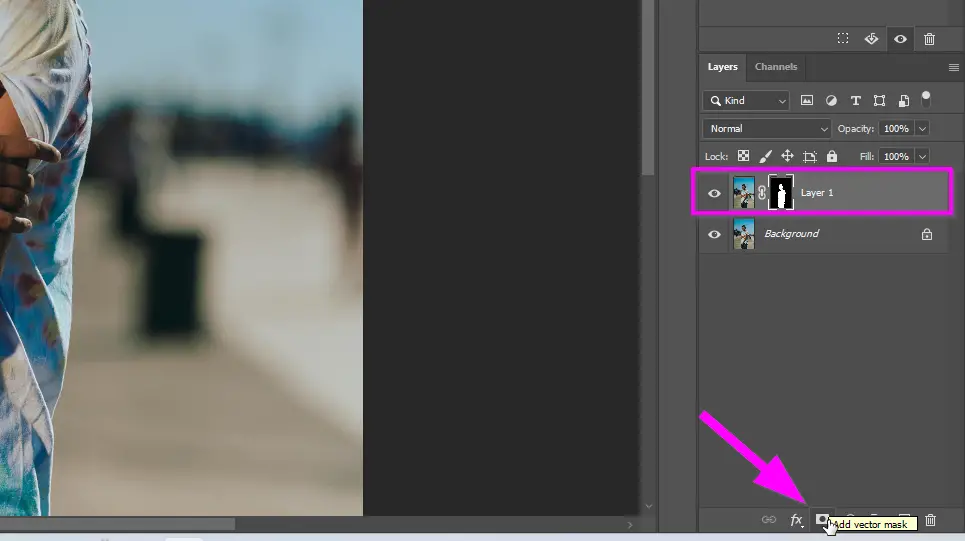
4. Create a Layer Mask
With the person selected, create a layer mask by clicking the “Add Layer Mask” button at the bottom of the Layers panel. This layer mask will preserve the selected area while hiding the rest of the image.
5. Refine the Selection
To refine the selection edges, press “\” on your keyboard. This will display a red mask, allowing you to assess the accuracy of the selection. Employ the Brush Tool to fine-tune the mask’s border, eliminating any unwanted portions by painting with black or adding missing details by painting with white. Take your time during this step to ensure a seamless integration. Press “\” again to hide the mask.

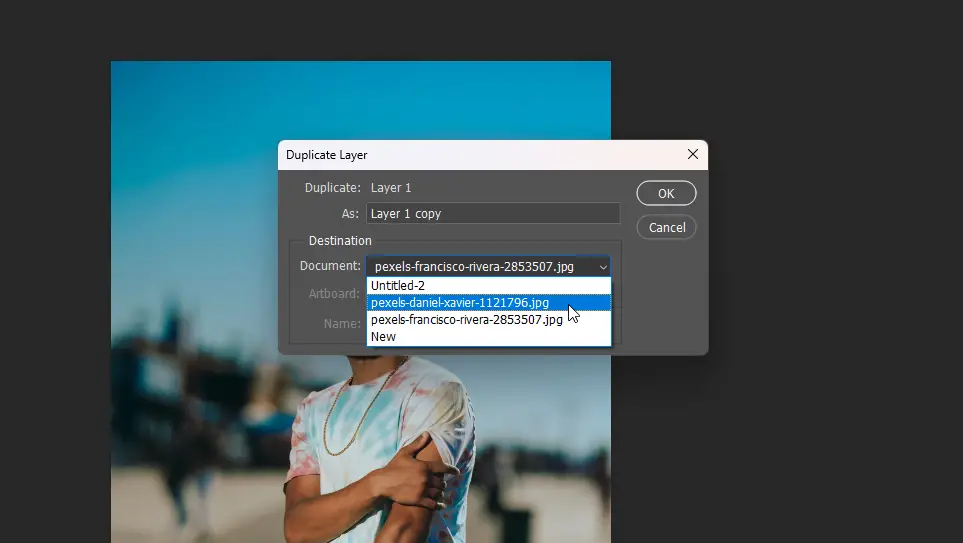
6. Transfer the Mask to a New Picture
Now, open the photo where you want to insert the person. Go back to the layer with the mask, right-click it and choose duplicate layer in the menu. In the pop up window, choose the destination as the image you want to add the person to that you just opened. This action will add the person’s image into the desired background.
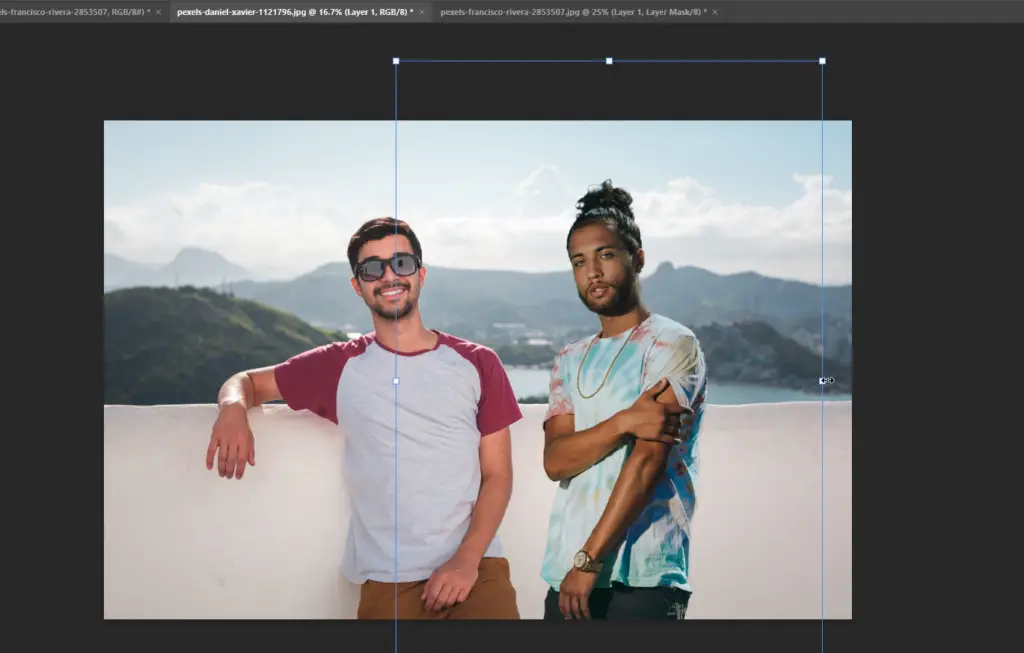
7. Resize the Extracted Person
To ensure a proportional fit within the new picture, use the Free Transform tool. Access it by selecting “Free Transform” from the Edit menu or by using the shortcut Cmd/Ctrl + T. An outline box will appear around the person’s layer. Hold the Shift key to maintain proportions while dragging the corners to resize the figure. Adjust the size until it seamlessly blends with the background. Click Enter to confirm the changes.
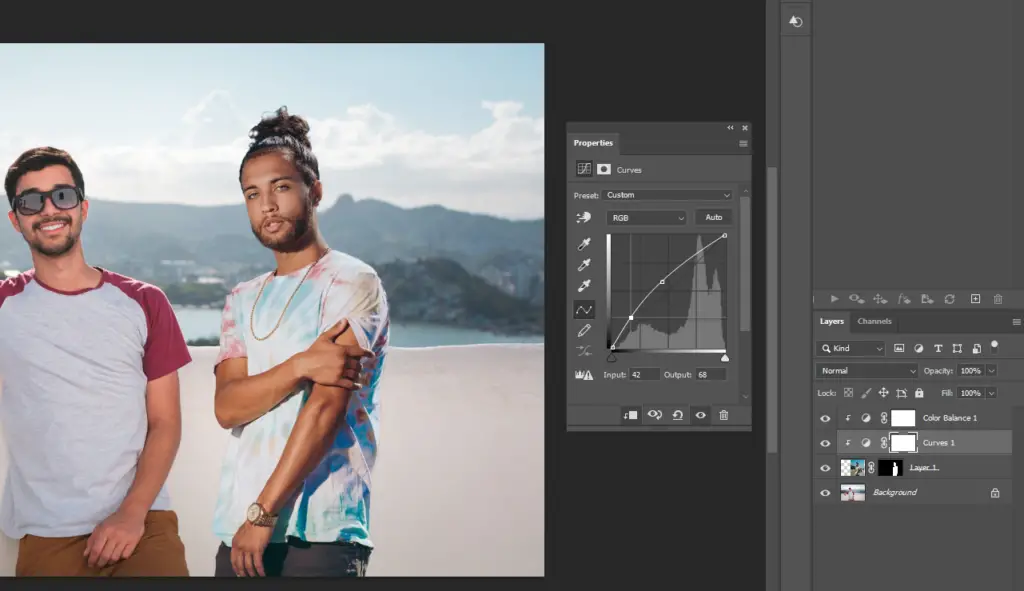
8. Create Shadows
To enhance realism, adjust the lighting and shadows of the inserted person. Use the Curves tool to refine the lighting. Remember to position the Curves adjustment layer above the layer with the person’s image then click the clipping icon so the adjustment only affects that layer. If needed, add light by placing a Curves layer above the person’s layer.
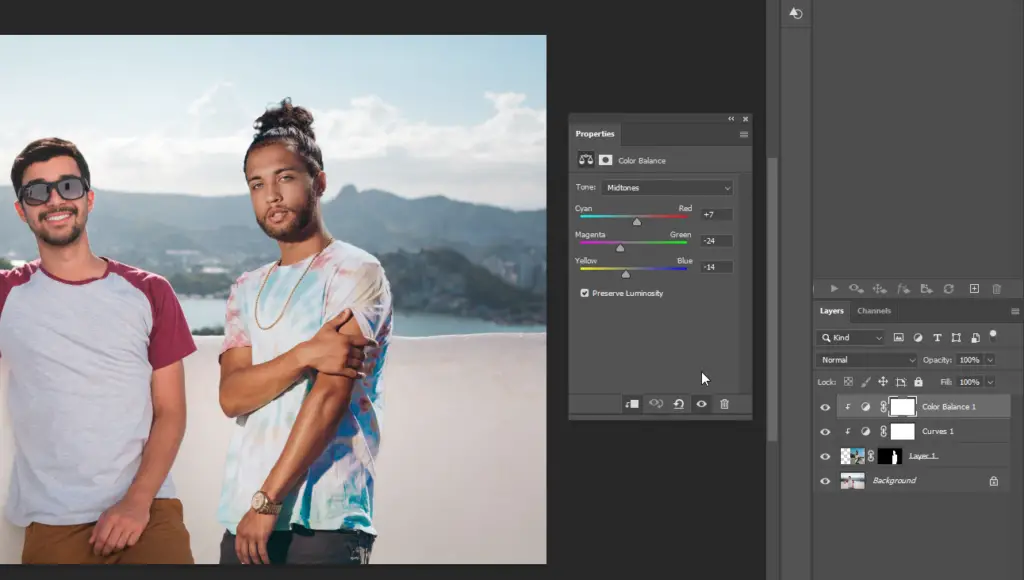
9. Adjust Colors
To ensure color harmony, adjust the exposure and colors of the inserted subject, especially if there are variations in lighting between the two images. Utilize tools like color balance, exposure, lighting, contrast, white balance, and color levels to harmonize the overall appearance.
Here’s the final result. More could be done in color and contrast correction as well as adding the shadow, but these are the basic steps to follow.

Conclusion
By carefully selecting compatible images, refining selections, resizing, and adjusting lighting and colors, you can achieve a seamless integration of the subject into the new environment. Remember to experiment, exercise patience, and enjoy the creative possibilities that Photoshop offers. Happy photoshopping!