When it comes to cropping photos in Photoshop, maintaining the aspect ratio of the original image can be crucial. Fortunately, there is a rarely used but very useful command in Photoshop called Transform Selection that can make the process of cropping with the same aspect ratio a breeze. Here’s how to do it:
1. Select the Image
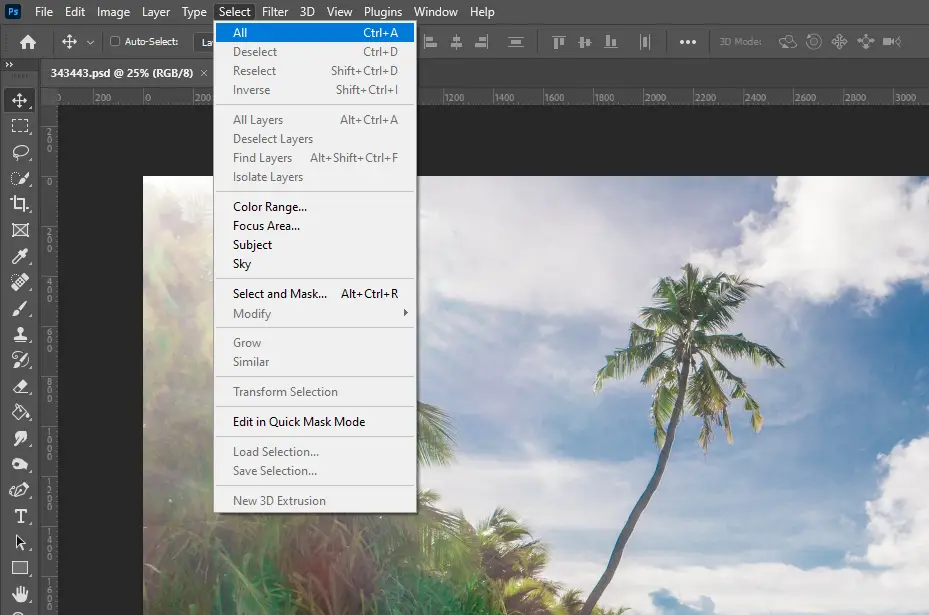
Select the entire image by going to Select>All (in the menu bar at the top), or use the keyboard shortcut Ctrl+A (Win) / Command+A (Mac). A selection outline will appear around the edges of the image.
2. Use the Transform Selection command
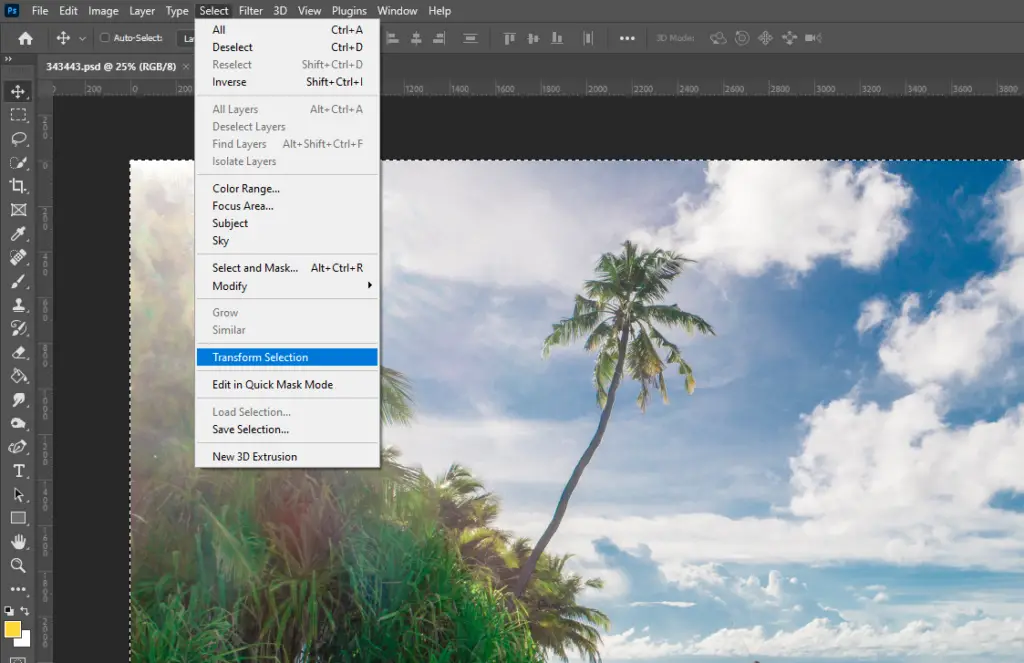
With a selection outline now around the entire photo, go back up to the Select menu and this time choose Transform Selection.
3. Resize The Selection
We want to resize the selection outline and make it smaller until it fits the are of the image we want to keep.
To do this, while holding Shift, click and drag one of the corners of the selection box until you achieve the desired crop area. Holding shift maintains the aspect ratio of the image. You can also hold shift+Alt on pc while dragging so that it transforms with the center of your image as the focal point.
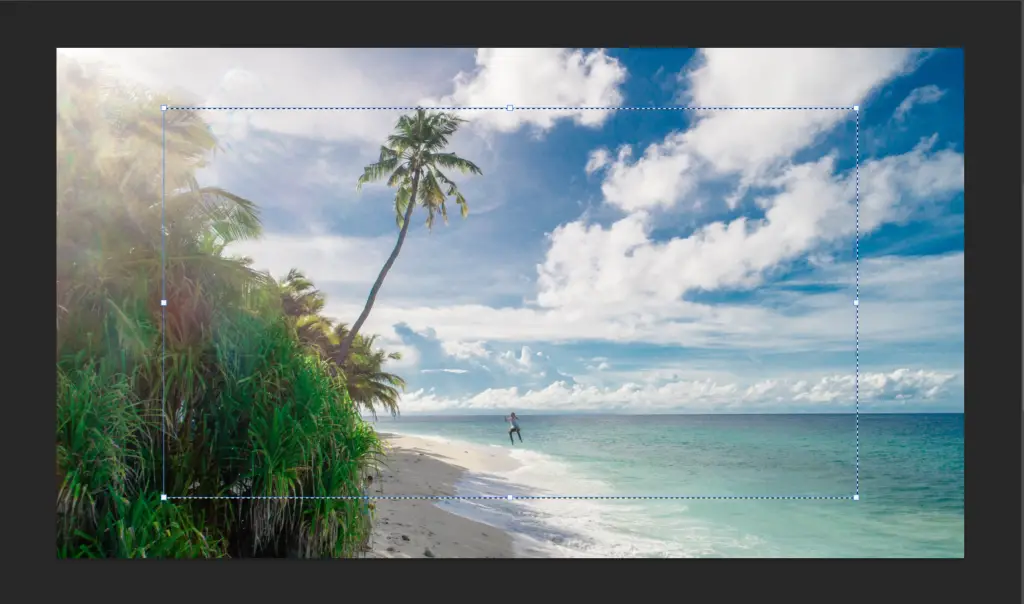
You can also reposition the selection outline by clicking and dragging inside the area.
Hit Enter if you are satisfied with the selection area.
4. Crop your Image
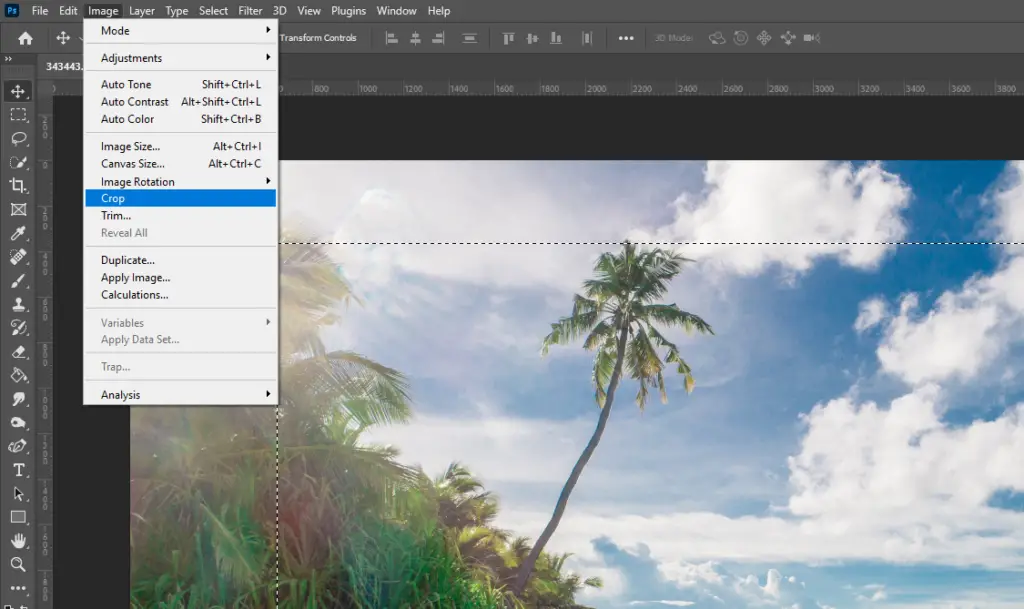
Go to Image > Crop. The unselected area of your image will be cropped out.
5. Deselect
Use the keyboard shortcut Ctrl+D on PC or Cmd+D on Mac to deselect. You can also go to Select>Deselect in the menu bar.
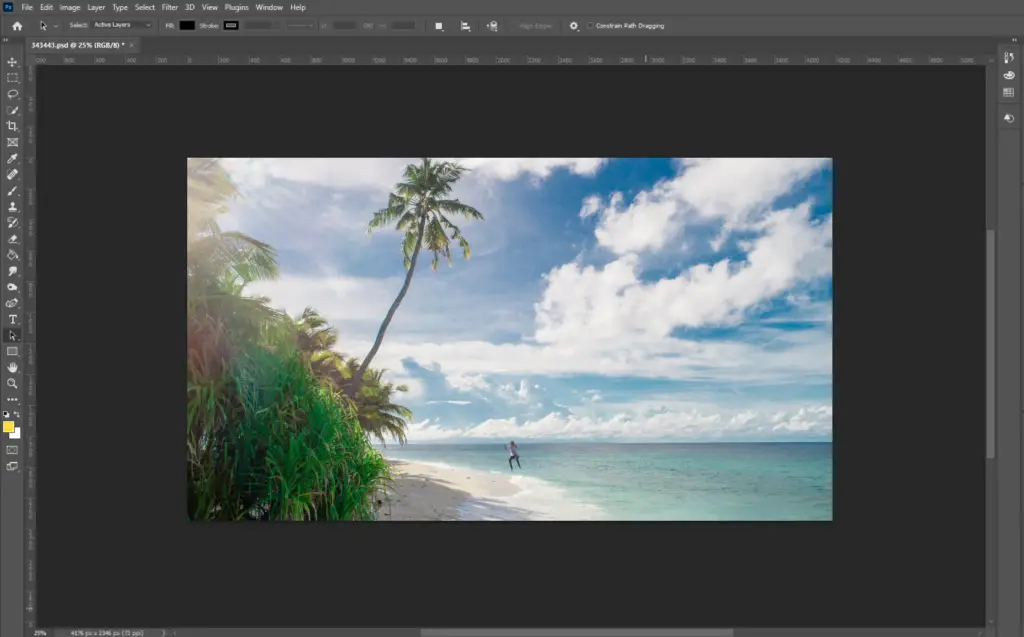
What if you’re not sure what the original aspect ratio actually is? You can open the Image Size dialog box to find out the width and height of the image and then do the math, but there’s an even easier way using Transform Selection. By following these simple steps, you can crop your images in Photoshop while maintaining the same aspect ratio as the original photo.
